
To build DIY lap lanes in your backyard pool, start by choosing a long, rectangular pool around 40-50 feet for uninterrupted swimming. Use sturdy lane ropes with wave-reducing discs, anchored securely at both ends, and make certain they extend the full length of the pool. Incorporate safety features like fences and non-slip surfaces. Careful planning of materials and layout makes the project manageable. Keep in mind, more detailed tips can help you create effective, safe lap lanes—so keep exploring for best results.
Key Takeaways
- Measure and mark your pool dimensions accurately, ensuring proper lane width (at least 2.5 meters) and length for lap swimming.
- Select durable, lightweight lane dividers with wave-reducing discs and sturdy anchors for DIY installation.
- Install lane ropes along the pool’s length, securing them with appropriate anchors, at least 50% submerged for wave dampening.
- Incorporate safety features like non-slip surfaces, handrails, and fencing to ensure a secure and functional lap lane area.
- Follow local regulations, perform system checks, and consider professional help for electrical and structural safety during setup.
Selecting the Optimal Pool Size and Shape for Lap Lanes
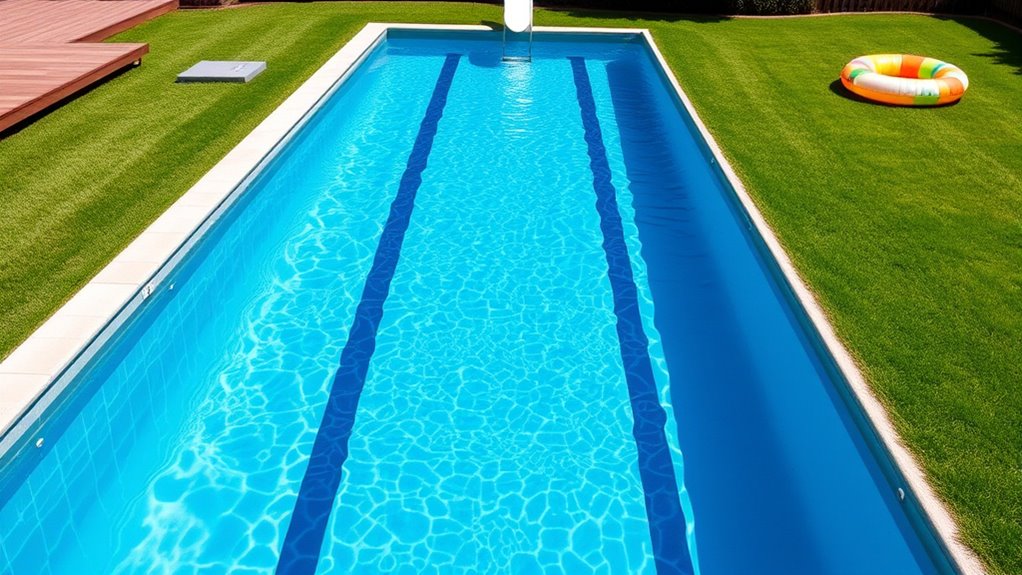
How do you choose the best pool size and shape for lap lanes? First, consider length—aim for at least 30 to 40 feet for uninterrupted laps, with 50 feet or more being ideal. Longer pools reduce turns and improve swim quality, especially if two swimmers share the lane. Width is equally important; a single lane usually needs about 6.5 to 8 feet, providing enough space for comfortable strokes without turbulence. For two swimmers, wider lanes or sections—8 feet or more—help minimize water chop. Keep the depth consistent at around 4 to 5 feet for easier turns and better maintenance. Opt for a rectangular shape, as straight lanes promote smooth, continuous swimming and simple construction, making your backyard pool perfect for consistent lap training. Additionally, rectangular pools are the most common shape for lap lanes because they maximize swimming length and minimize complicated construction challenges. When planning your pool, consider pool sizing to ensure it fits your space and training needs effectively.
Planning Your Backyard Layout and Site Preparation
Before starting construction, accurately measuring your backyard space is essential to guarantee your pool fits well and functions properly. Use precise tools like measuring tapes or laser distance measurers to capture dimensions—length, width, and height clearance. Remember, pools should occupy about one-third of your backyard to maintain balance and functionality. Consider clearances for walkways, seating, and landscaping to ensure easy movement and visual appeal. Take note of terrain slopes; plan for grading or retaining walls to level the site and manage drainage effectively. Mark the pool outline physically on-site before excavation to prevent layout errors. Proper planning helps you optimize sunlight exposure, minimize wind impact, and comply with safety setbacks, creating a solid foundation for a successful DIY lap lane project. Measuring accurately ensures your design is practical and prevents costly adjustments later.
Choosing the Right Materials and Construction Methods
Choosing the right materials and construction methods is essential for building a durable and cost-effective DIY lap pool. For the walls, consider concrete masonry units (CMU) for strength and affordability, or insulated concrete forms (ICFs) for added insulation and durability. Gunite provides a solid, long-lasting surface but requires skilled application, while fiberglass shells simplify installation and offer a uniform shape. Using steel or polymer panels from pool kits ensures quality and warranties. Reinforcing steel like rebar is critical for structural integrity, especially in long pool runs. Construction techniques include shotcrete or gunite for concrete pools or modular methods for CMU and ICF blocks. Proper waterproofing, quality liners, and energy-efficient materials will prolong your pool’s lifespan and reduce maintenance costs. Additionally, selecting vetted and high-quality materials can significantly impact the longevity and safety of your DIY lap pool.
Assembling a DIY Pool Kit: Step-by-Step Guidance
To successfully assemble your DIY pool kit, start by preparing the site thoroughly, ensuring the ground is level, debris-free, and marked accurately for the pool layout. Follow the step-by-step instructions carefully as you put together the walls, plumbing, and other components, checking each part for proper fit and alignment. Once assembled, test all systems to confirm everything works correctly before filling the pool and finalizing the installation. Additionally, reviewing the Q&As related to the DIY Cowboy Pool Kit beforehand can help prevent common issues during setup and is highly recommended. Being aware of potential manipulation tactics used in DIY projects can also help you stay focused and make informed decisions throughout the process.
Site Preparation Essentials
Getting your site ready is a crucial first step in assembling your DIY pool kit. Start by clearing away all debris like rocks, sticks, and plants to create a clean, obstruction-free area. Next, level the ground using rented equipment or professional help to ensure an even base. Confirm there are no underground utilities and that your site complies with local codes to avoid delays or hazards. If required, prepare a compacted base or pad to improve stability and prevent settling. Mark the exact outline of the pool to guide excavation or material placement accurately. Proper site layout, including drainage planning and orientation for sun and wind, helps optimize pool performance. Additionally, considering site preparation techniques ensures a safer and more durable installation. Taking these steps ensures a solid foundation, making installation smoother and more secure.
Assembly and Testing
Wondering how to start assembling your DIY pool kit? Begin by unboxing everything carefully, verifying all major components—walls, liner, coping, filter, pump, and ladder—are present. Check that your hardware packs contain all bolts, screws, and connectors needed. Follow the included instruction manuals and installation guides step-by-step. For wall and frame assembly, stack CMU blocks or interlock ICFs, reinforcing with rebar as instructed. Secure walls with braces to keep everything straight. Next, unfold and position the liner smoothly over the structure, sealing edges to the coping. Connect and secure the filter, pump, and plumbing lines, adding sand to the filter as directed. Before filling, double-check all connections for leaks and test equipment operation. Slowly fill the pool, monitoring for wrinkles and leaks, then conduct a swim test once the water is balanced. Additionally, understanding celebrity lifestyle insights can provide inspiration for designing your backyard retreat.
Installing a Robust Filtration and Circulation System

To keep your lap pool clean and safe, you need a reliable filtration and circulation system that guarantees steady water flow. Choosing an energy-efficient pump helps you save on power while maintaining proper turnover times. Proper placement and sizing of your equipment will prevent dead zones and keep the water crystal clear. A well-designed system ensures consistent filtration and reduces the need for frequent maintenance. Additionally, understanding grocery savings strategies can help you allocate more resources toward maintaining your pool equipment effectively.
Ensuring Effective Water Flow
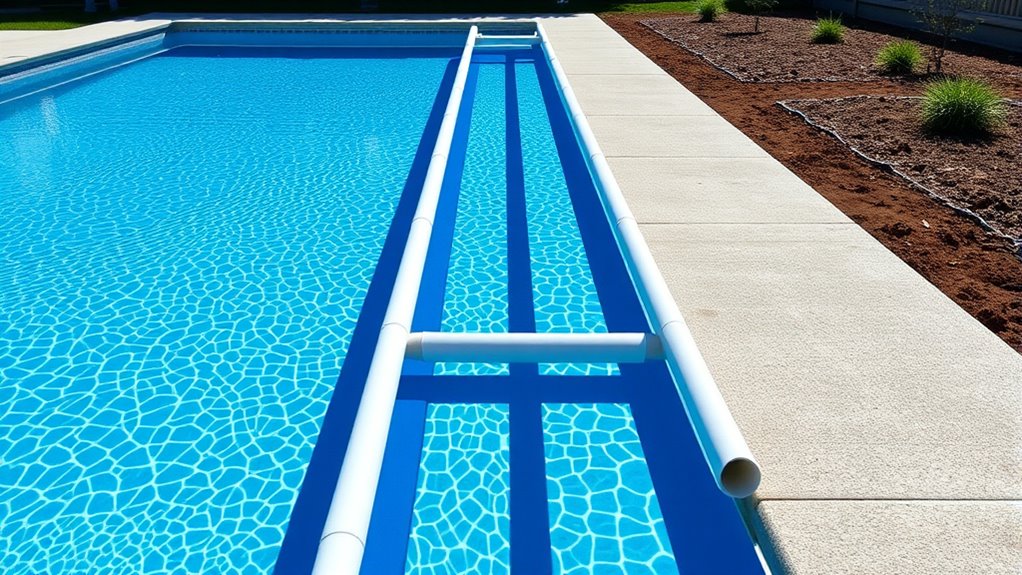
Installing a robust filtration and circulation system is essential for maintaining clear, healthy water in your DIY lap lane. To guarantee effective flow, select the right filter type—sand filters are popular for their ease of use, while cartridge filters offer finer filtration. Use PVC piping to connect your pump, filter, and return lines, and install union fittings for easy maintenance. Properly sized return lines and distribution pipes ensure even water flow, preventing dead spots. Aim to turn over the entire pool volume at least once every 24 hours by matching your system’s flow rate to your pool size. Position the pump and filter close to the pool to minimize pressure loss, and regularly inspect and clean your filter media to keep flow rates at their best. A well-designed system also minimizes energy consumption by optimizing flow efficiency. Additionally, understanding how contrast ratio influences the clarity and depth of your pool’s visual appearance can help you select appropriate lighting and viewing conditions for your DIY setup.
Selecting Energy-Efficient Pumps
Choosing an energy-efficient pump is a smart way to cut ongoing operating costs while keeping your DIY lap lane running smoothly. Variable speed pumps can reduce energy costs by up to 90%, making them a cost-effective upgrade from single-speed models. ENERGY STAR certified pumps use up to 65% less energy, saving you hundreds annually. Top models like the Pentair IntelliFlo VS and Hayward TriStar VS offer programmable speeds, quiet operation, and safety features such as SVRS. These pumps not only lower energy bills—potentially saving over $2,800 over their lifespan—but also extend system lifespan and reduce maintenance. Energy-efficient pumps also comply with regional regulations requiring variable-speed operation, ensuring your system remains up-to-date with current standards. Additionally, investing in efficient pump technology can improve overall system performance and water quality. Dual-voltage options simplify installation, and digital controls make operation straightforward. Investing in an energy-efficient pump guarantees reliable circulation, lowers environmental impact, and pays for itself over time through substantial savings.
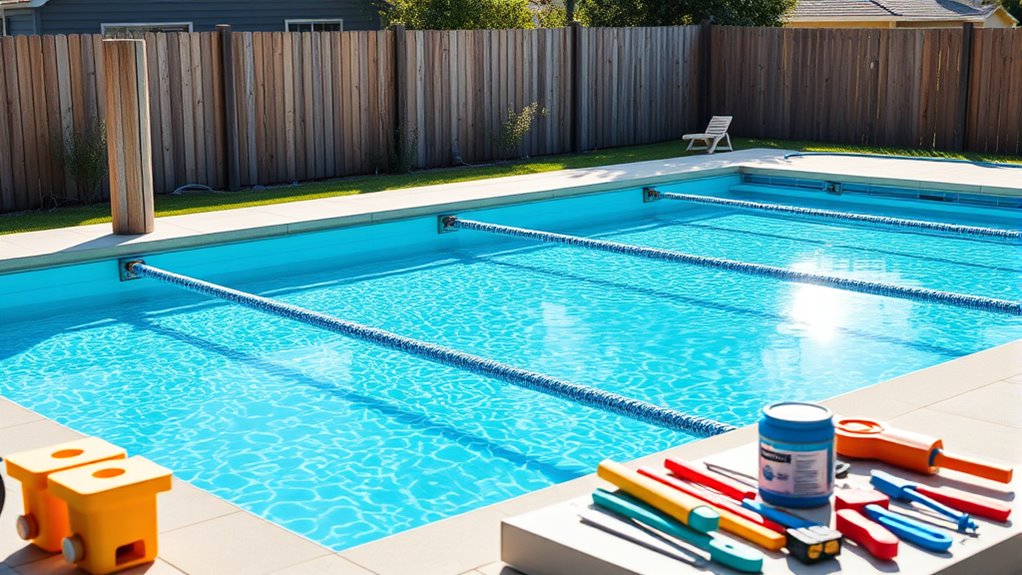
Marking and Installing Lane Dividers for Smooth Swimming Experience

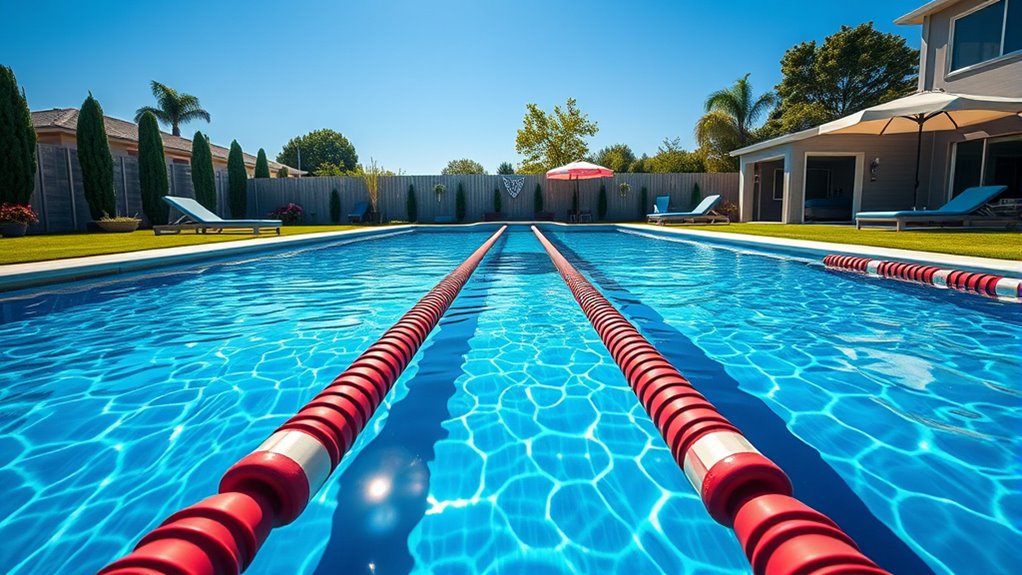
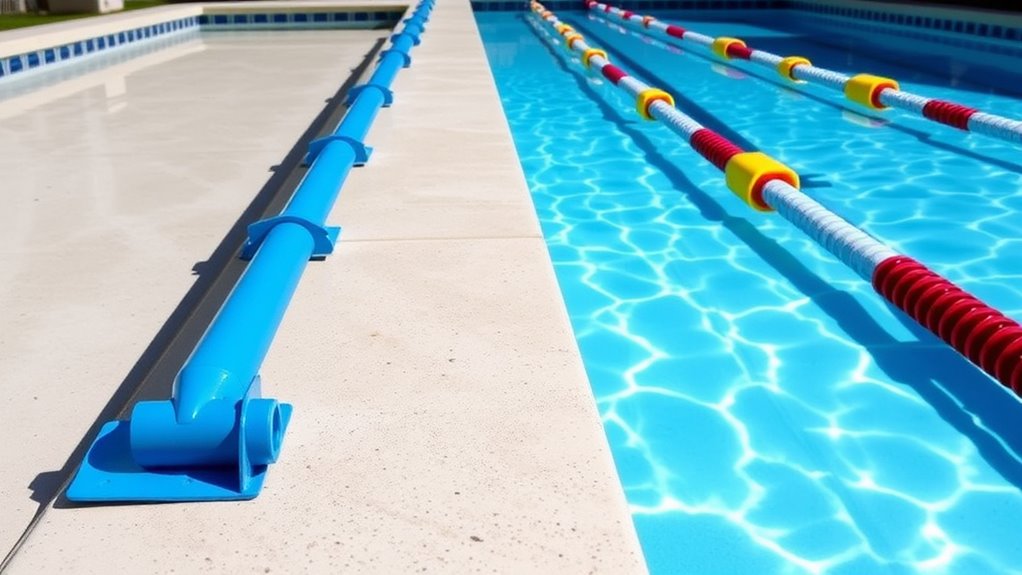
Marking and installing lane dividers properly is essential for achieving a smooth swimming experience. Begin by ensuring each lane is at least 2.5 meters wide for ideal swimmer positioning, with edge lanes slightly narrower at 2.4 meters. Extend lane ropes the entire length of the pool to maintain clear separation and reduce wave interference. Use lane ropes with diameters between 0.10 and 0.15 meters to effectively dampen waves and provide clear visual guidance. Position wave-reducing discs and floats so at least 50% are submerged, minimizing surface turbulence. Secure lane lines with recessed anchor brackets capable of withstanding at least 20 kN of tension, keeping lane lines tight and stable. Proper tension and secure anchoring ensure smoother swim conditions, especially during training or competitive use. This adherence to standards helps maintain the integrity of the swimming lanes and ensures safety for all users.
Tips for Maintaining Water Quality and Pool Longevity
Keeping your pool water clean and balanced is essential for its longevity and your safety. Regular testing of water chemistry guarantees proper pH, alkalinity, and sanitizer levels, preventing problems before they start. Additionally, maintaining your filtration system properly keeps the water clear and reduces the need for costly repairs. Proper filtration maintenance helps avoid common issues like cloudy water and equipment failure, ensuring your pool remains in optimal condition throughout the year. Using water testing kits regularly can help you catch imbalances early, further safeguarding your pool’s health.
Regular Water Testing
How often you test your pool water can make all the difference in maintaining its clarity and safety. For essential balance, test pH and chlorine levels 2–3 times weekly, and check total alkalinity once a week. Cyanuric acid, calcium hardness, and metals should be tested monthly or as needed, especially during heavy use or storms. During extreme weather, increasing testing frequency is vital to catch chemical fluctuations early. Use a combination of test strips for quick checks and liquid kits for more precise results. Regular testing helps prevent issues like skin irritation, equipment damage, and algae growth. Hydrocolloid technology plays a key role in the effectiveness of acne patches by promoting faster healing and impurity absorption. Remember, consistent monitoring keeps your water clear, safe, and your pool in top shape for years to come. In addition, knowing how to interpret test results accurately ensures you can make timely adjustments to maintain optimal water quality.
Proper Filtration Maintenance
Maintaining your pool’s filtration system is essential for ensuring clear, safe water and prolonging the lifespan of your equipment. Regular upkeep prevents breakdowns and keeps your water crisp. For sand filters, backwash every 4-6 weeks or when pressure rises 8-10 psi above normal. Replace sand every 3-5 years to keep filtration sharp. Monitor pressure differentials; clean when it hits around 16 psi or shows an 8-10 psi increase. Understanding filter types and their maintenance routines can help you select the best practices for your specific system. Additionally, inspecting the airflow pathways ensures optimal filtration efficiency and reduces strain on your pump.
| Filter Type | Maintenance Tips |
|---|---|
| Sand Filter | Backwash regularly; replace sand every 3-5 years. |
| Cartridge Filter | Rinse every 2-4 weeks; deep clean monthly. |
| DE Filter | Backwash at 8-10 psi increase; add fresh DE. |
| General Tips | Inspect components; run pump 6-8 hours daily. |
Consistent maintenance keeps your pool pristine and running smoothly.
Safety Considerations During and After Construction
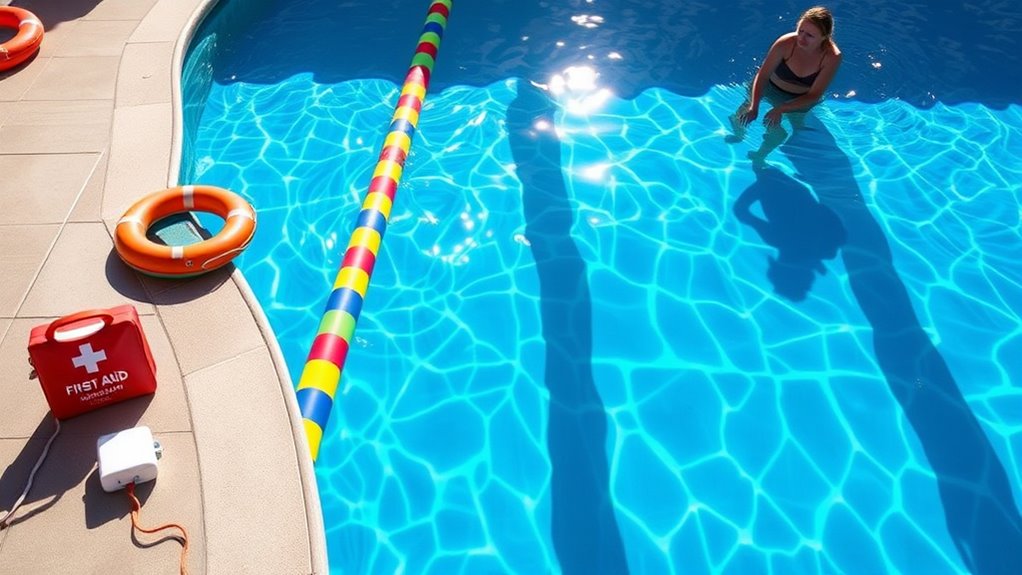
Safety considerations during and after construction are essential to protect everyone around your DIY lap lane. Start by installing temporary fencing immediately after excavation to prevent falls and unauthorized access. Guarantee it completely encloses the area and meets safety standards. Use clear signage and barriers to alert visitors of hazards. Only licensed electricians should handle electrical work, including pool lighting and filtration, with proper grounding and inspections. Plumbing must also be installed by professionals to ensure safety and efficiency. Proper drainage and site grading are crucial to prevent standing water, which can cause slips and structural issues. Incorporate non-slip surfaces, handrails, and secure fencing with self-latching gates to reduce accidents. In conclusion, adhere to local codes, secure necessary permits, and schedule inspections to maintain ongoing safety and compliance. Additionally, regular safety inspections should be scheduled during and after construction to identify and address potential hazards promptly. Regularly checking pool equipment ensures everything remains in proper working order and reduces safety risks.
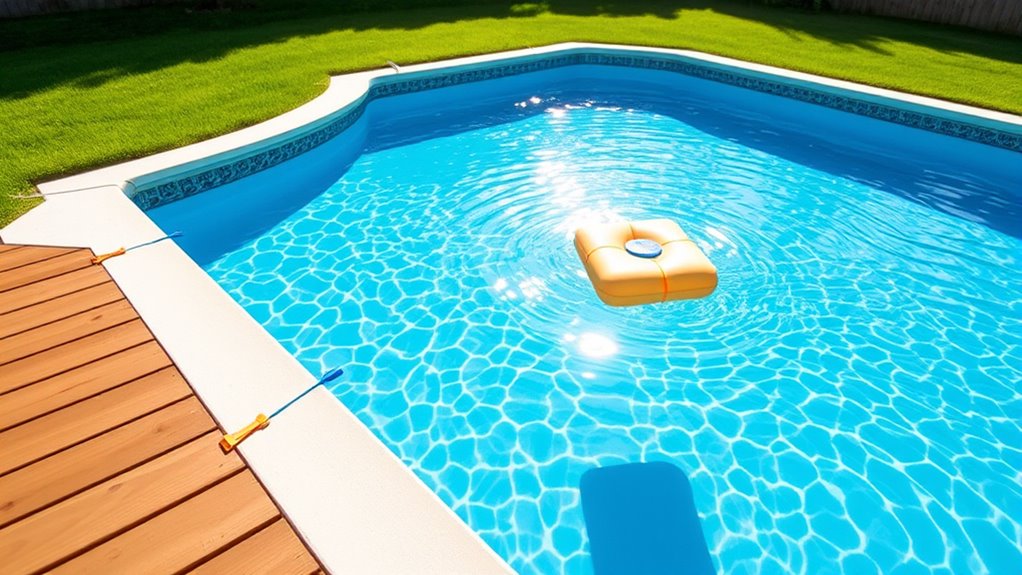
Enhancing Your Pool With Multi-Purpose Features

Enhancing your pool with multi-purpose features adds versatility and fun for every user. These features serve multiple functions, making your pool more functional and enjoyable. For example, Baja shelves can be used as shallow lounging areas or starting points for lap lanes. Swim-up bars double as hydration stations during workouts, while integrated benches allow for resting or socializing mid-lap. Water features like fountains or bubblers can mark lap intervals or provide visual cues, enhancing lap tracking. Additionally, features such as splash decks and shallow remodels create safe play zones for children and warm-up areas for swimmers. These elements maximize space and usability, ensuring everyone benefits from a pool that’s both practical and engaging by promoting safety and accessibility.
Budgeting and Cost-Effective Strategies for DIY Pool Projects
Budgeting for a DIY backyard lap pool requires careful planning to maximize value without overspending. You can choose affordable options like above-ground pools ($4,000–$6,000) or small inground pools starting at $20,000–$40,000. Pool kit prices vary from $9,000 to $15,000, depending on size. Material choices greatly impact costs and longevity: vinyl liners are cheapest but need replacements every five years, while fiberglass and concrete options cost more upfront but last longer. Labor costs also influence your budget; DIY installation can save considerably. Focus on simple shapes and avoid elaborate features to stay within budget. Here’s a quick guide:
| Pool Type | Approximate Cost |
|---|---|
| Above-ground | $4,000–$6,000 |
| Small inground | $20,000–$40,000 |
| Kit (small) | $9,000–$11,000 |
| Full-length inground | Over $100,000 |
You should also consider the cost of permits and inspections, which can add to your overall expenses depending on local regulations. Additionally, selecting affordable construction materials can help you stay within your budget while ensuring durability.
Frequently Asked Questions
How Do I Ensure Proper Water Circulation for the Entire Lane Length?
To guarantee proper water circulation, you should install multiple return jets evenly spaced along the lane to distribute flow uniformly. Use high-capacity, adjustable pumps to maintain consistent velocity and incorporate directional nozzles to optimize flow patterns. Minimize pipe bends and obstructions, and consider adding circulation boosters or swim jets for enhanced movement. Regularly clean filters and schedule maintenance to prevent flow disruptions, keeping the entire lane consistently refreshed and free of stagnation.
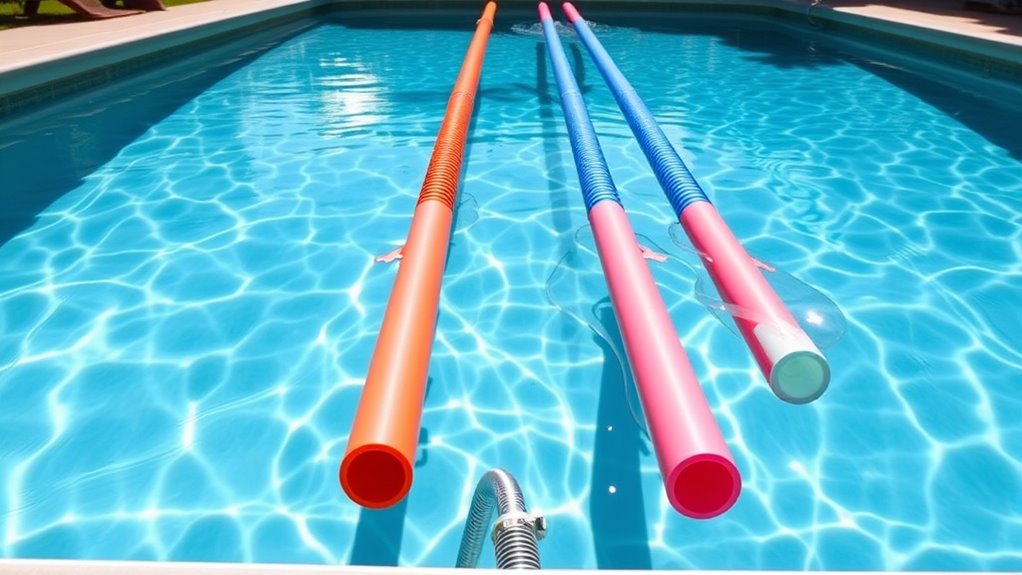
What Are the Best DIY Tools for Precise Lane Divider Installation?
You’ll want precision tools like laser distance measurers to guarantee accurate placement of lane dividers. Use chalk line reels for straight guide lines, measuring tapes for fine adjustments, and pool-specific markers to mark endpoints. Leveling tools help keep everything aligned at the right height and angle. For installation, heavy-duty wire cutters, adjustable wrenches, drills, and cable tensioners are essential for secure, straight, and durable lane divider setup.
How Can I Prevent Algae Buildup in a DIY Backyard Lap Pool?
To prevent algae buildup in your backyard lap pool, you should maintain proper water chemistry by testing weekly and keeping pH between 7.4-7.6 and chlorine levels at 1-3 ppm. Run the pump daily to ensure good circulation, brush walls regularly, and backwash filters weekly. Skim debris daily, and consider using algaecides and supplemental sanitizers like UV or mineral systems for extra protection.
What Maintenance Schedule Is Recommended for DIY Pool Liners?
You should vacuum your pool liner at least once a week to remove debris, skim the surface daily, and brush the walls and floor weekly with a soft-bristle brush. Test and adjust water chemistry weekly to prevent liner damage, and inspect for tears or holes monthly. Use vinyl-safe cleaners, avoid draining the pool fully, and protect the liner from sun and sharp objects. Regular professional inspections help catch issues early.
How Do I Upgrade or Replace Lane Dividers Over Time?
To upgrade or replace your lane dividers over time, regularly inspect for damaged floats or wear. When needed, unhook the old lines carefully using proper tools, then install new ones, ensuring correct tension and secure attachment. Consider upgrading to durable, UV-resistant floats and matching colors for aesthetics. Keep spare parts handy for quick repairs, and use storage reels when not in use to prolong their lifespan and maintain safety during your swim sessions.
Conclusion
Building your backyard lap lane is like crafting a personal oasis—a sanctuary where every detail reflects your vision. With patience and care, you’re shaping a vessel of refreshment and fitness, much like a sculptor revealing a masterpiece. As you finish your project, remember that your pool isn’t just water and tiles; it’s your private haven, a place to recharge and find clarity amidst life’s chaos. Jump in and make it uniquely yours.