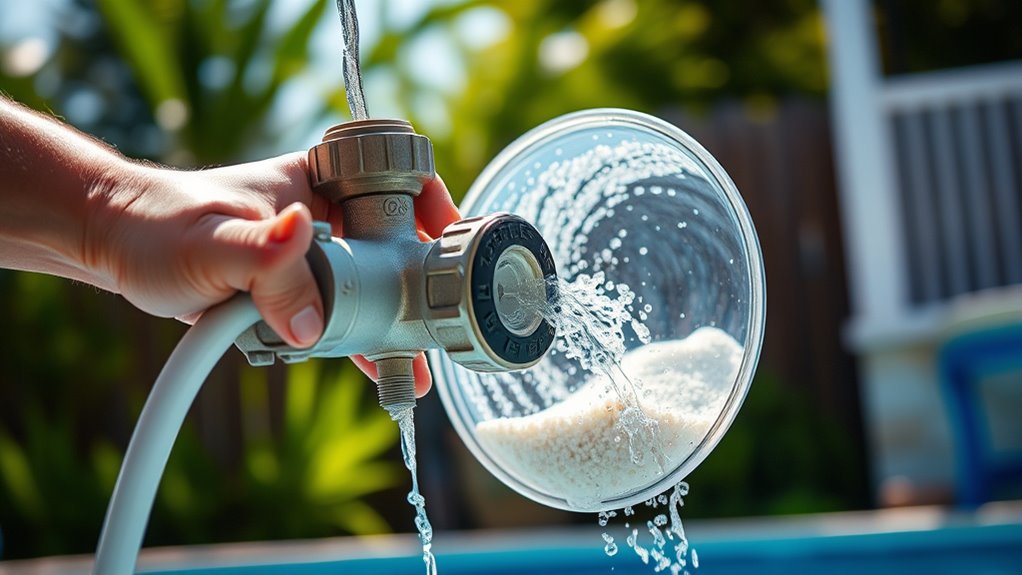

To backwash your sand filter, first turn off the pool pump and set your multiport valve to the “Backwash” position, making sure it clicks into place. Attach a hose securely to the backwash port, then restart the pump and run the cycle for 2-5 minutes until the water flows clear. Afterward, switch the valve to “Rinse,” run for a minute, and return the filter to “Filter.” Continuing with these steps helps keep your system clean and efficient.
Key Takeaways
- Turn off the pump, then set the multiport valve to the “Backwash” position by rotating the handle clockwise.
- Restart the pump and run the backwash cycle for 2-3 minutes or until water exits clear.
- Monitor the pressure gauge; backwash when pressure is 8-10 PSI above the initial reading.
- Stop the pump, return the valve to the “Filter” position, then restart the pump.
- Check for leaks and ensure water flow is steady before resuming normal filtration.

2 IN x 30FT Pool Backwash Hose Heavy Duty Drain Discharge Double PVC Layflat Hose with 2 Clamps, Weatherproof Burst Resistant for Water Transfer, Sump Pump, Pool Filter, Pool Drain (9.2M,Blue)
【Universal Standard Size】The length of pool backwash hose is 30FT (9.2 Meters), and the inner diameter is 2IN….
As an affiliate, we earn on qualifying purchases.
As an affiliate, we earn on qualifying purchases.
Preparing Your Pool System for Backwashing

Before you begin backwashing your sand filter, it’s essential to prepare your pool system properly to guarantee safety and effectiveness. First, turn off the pool pump at the circuit breaker to prevent accidental starts during valve adjustments or equipment handling. Make sure the area around the filter is clear to avoid tripping or injury. Verify that the system’s power is off before manipulating the multiport valve, preventing damage to the pump or filter. Check that clothing and tools won’t interfere with moving parts. Review your user manual for any model-specific safety steps. Additionally, confirm the backwash hose is untangled and positioned toward a suitable drainage area. Ensuring these precautions are in place helps you work safely and efficiently during the backwash process. SmartCR can also provide guidance on proper maintenance techniques to prolong your equipment’s lifespan.
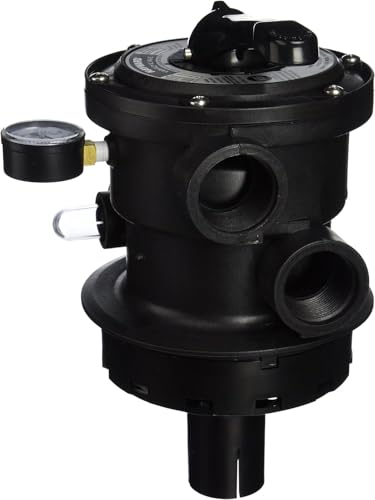
Hayward SP0714T Vari-Flo 7-Position Top-Mount Multiport Valve, 1.5-Inch Ports, for ProGrid & DE Pool Filters
7‑Position Vari‑Flo Control Valve – Includes Filter, Backwash, Rinse, Waste, Recirculate, Closed, and Winterize functions for complete, year‑round…
As an affiliate, we earn on qualifying purchases.
As an affiliate, we earn on qualifying purchases.
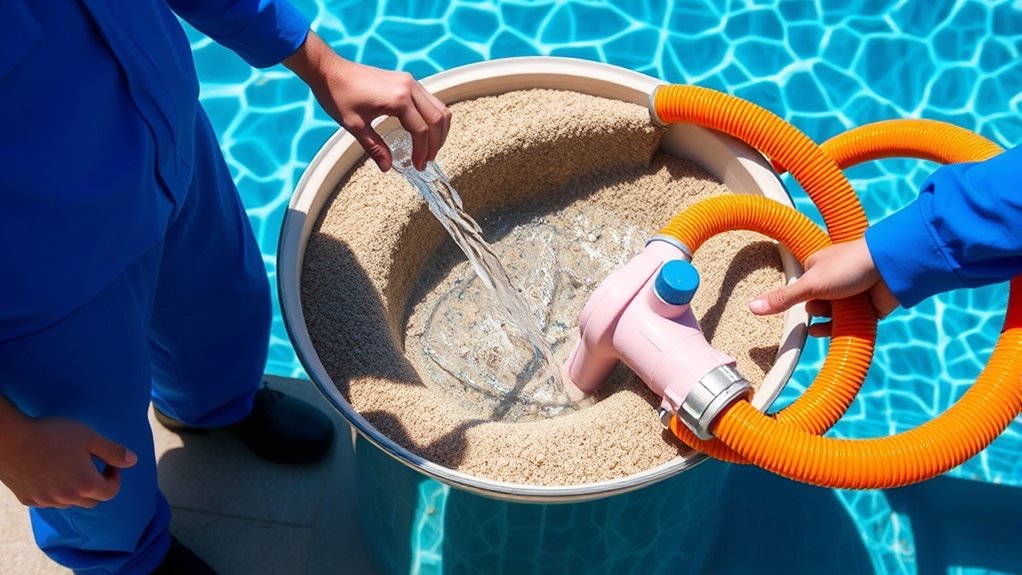
Attaching the Backwash Hose Safely

To attach the backwash hose securely, start by locating the backwash port on your sand filter and ensuring the hose diameter matches or that you have the appropriate adapter or fitting. Inspect the port for damage or debris, and clean it if necessary. Soften the hose by soaking it in warm water or sun to increase flexibility, then straighten it to prevent kinks. Slide a hose clamp onto the hose before attaching it, and apply Teflon tape to the port threads for a watertight seal. Push the hose firmly onto the port or fitting until fully seated, then tighten the clamp securely. Verify the connection is stable and won’t slip during backwashing. Properly routed, the hose should discharge water safely away from the pool area without leaks or hazards. Additionally, understanding tableware materials helps in selecting appropriate hoses and fittings that resist corrosion and wear over time.

Sepetrel Pool Backwash Hose 1.5 Inch x 50 Feet | Heavy Duty Burst Resistant & Weatherproo Lay Flat Discharge Hose for Pool Sand Filter, Sump Pump, Inground & Above Ground Pools,Includes 2 Clamps
Premium Heavy-Duty Build:Heavy duty backwash hose features a 1.5" diameter, 50' length, and 1.2mm thick walls. Includes a…
As an affiliate, we earn on qualifying purchases.
As an affiliate, we earn on qualifying purchases.
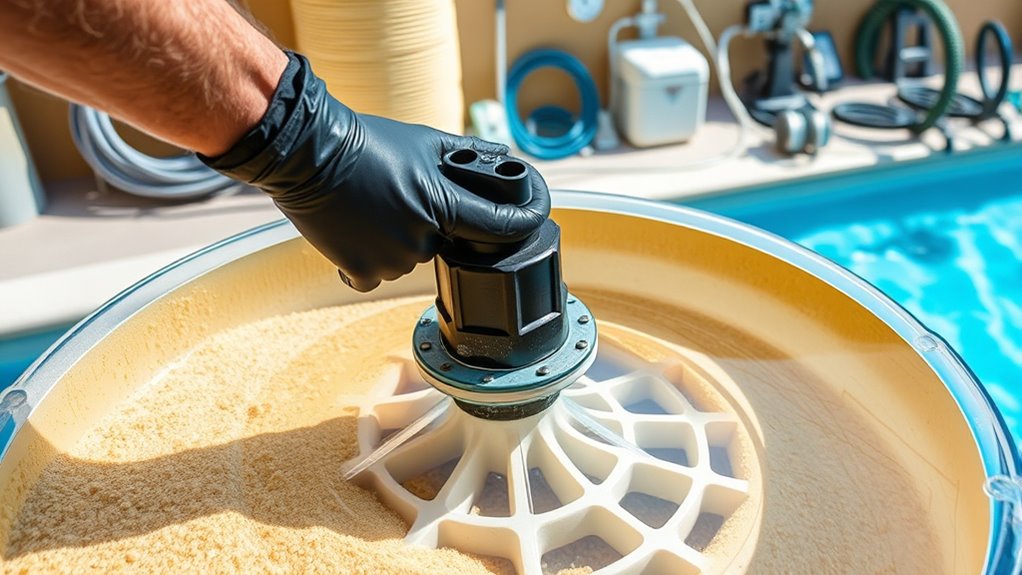
Setting the Multiport Valve to Backwash
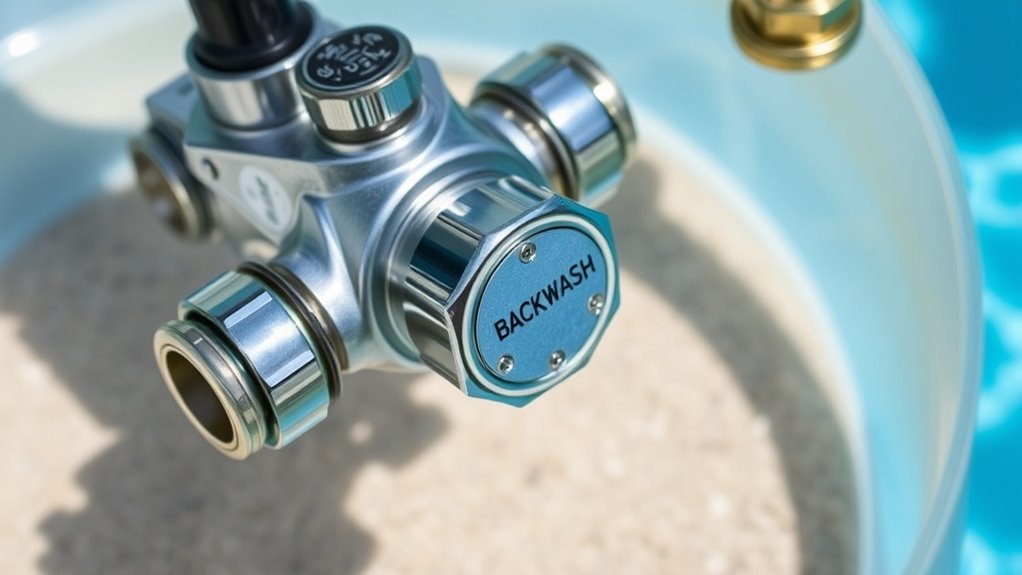
Once the backwash hose is securely attached, you need to set the multiport valve to the correct position to begin backwashing. First, turn off your pool pump to prevent damage. Depress the valve handle to ease movement and then rotate it clockwise to the “Backwash” position. Make sure the handle clicks or stops firmly at this setting, indicating it’s fully in place. Avoid forcing the handle or turning it counterclockwise, as this can damage the gasket. Confirm the handle is aligned with the “Backwash” label, and check that no debris blocks the valve. Proper positioning reverses water flow through the filter, flushing out debris through the waste line. Always adjust the valve carefully to protect your system’s integrity. Regularly inspecting the multiport valve ensures safe and effective backwashing.

AetralYB Pool Filter Pressure Gauge – 304 Stainless Steel Case, IP67 Waterproof, 0-60 PSI, for Swimming Pool Pump, Spa & Aquarium Filter System, Clean Filter Indicator, 2" Dial, 1/4" NPT Bottom Mount
【DESIGNED FOR POOL & SPA SYSTEMS】 – This 0–60 PSI pool pressure gauge is purpose-built for swimming pool…
As an affiliate, we earn on qualifying purchases.
As an affiliate, we earn on qualifying purchases.
Running the Backwash Cycle

After setting the multiport valve to backwash and restarting your pump, it’s time to let the backwash cycle run. The pump reverses water flow through the sand filter, flushing debris to the waste port. Run the cycle for 2 to 3 minutes or until the water exiting the waste line is clear. Keep an eye on a sight glass or the hose discharge to monitor clarity. Avoid running the pump longer than necessary to prevent water waste and sand displacement. Usually, the backwash should be complete when the water runs clear, indicating debris removal. If water remains cloudy after three minutes, check for clogged or damaged components. Regularly monitoring water clarity guarantees an effective backwash and maintains your filter’s performance.
Recognizing When Backwashing Is Complete

You’ll know backwashing is finished when the water in the sight glass turns clear or the waste line water looks clean. Keep an eye on the pressure gauge; it should return to the normal pressure range, signaling the filter is clean. When flow rates improve and water clarity is restored, you can be confident the process is complete. Monitoring these indicators regularly helps ensure you don’t over- or under-clean your filter. Additionally, understanding AI in Education can help you stay informed about technological advances that may improve your pool maintenance techniques in the future.
Sight Glass Clarity
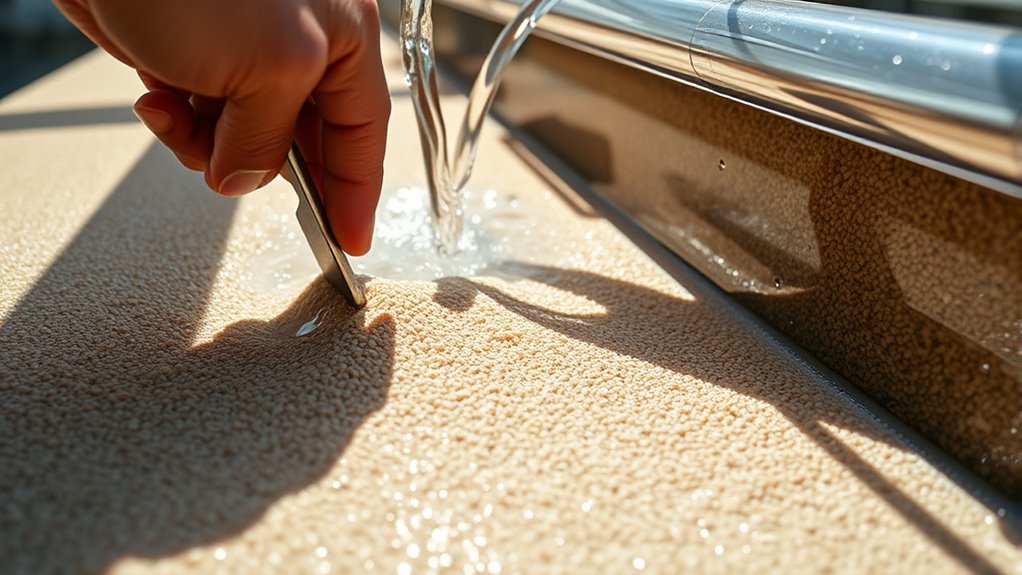
How can you tell when backwashing a sand filter is truly complete? The key is observing the water in the sight glass. When backwashing starts, the water appears cloudy or dirty, filled with debris. As the cycle progresses, keep an eye on the clarity. When the water turns clear, it indicates that trapped dirt, debris, and contaminants are fully flushed out. Persistent cloudiness or visible sand particles suggest more backwashing or rinsing is needed. Minor sand in the sight glass during backwash is normal due to agitation, but it should diminish quickly. Regularly cleaning the sight glass helps maintain accurate observations. Additionally, understanding the influence of water quality on filtration can help determine when the filter is properly cleaned. Once the water remains clear and free of debris, you can confidently switch to the rinse cycle or return to filtration.
Pressure Gauge Readings
Ever wonder how to tell when your sand filter has been properly backwashed? The key is monitoring your pressure gauge. First, record the initial pressure reading after cleaning—the baseline—usually between 10 and 25 psi for most residential filters. During backwashing, watch for a pressure rise of about 10 psi above this baseline; that indicates debris is being expelled. Once the pressure drops back close to the baseline, the backwash is complete. The pressure should stabilize within a few minutes, confirming proper cleaning. If pressure remains high or drops too low, it signals potential issues like clogged media or leaks. Regularly check and maintain your gauge for accurate readings, as this ensures you backwash at the right time and keeps your system running efficiently. Proper gauge function is crucial for accurate monitoring. Additionally, understanding the correct backwash procedure helps prevent unnecessary wear on your filter media.
Rinsing the Sand Filter After Backwashing
Rinsing the sand filter after backwashing is essential to remove residual dirt and prevent debris from returning to your pool. It helps settle and compact the sand bed, guaranteeing proper filtration and clear water. Proper rinsing clears out leftover dirt or sediment, reducing the risk of cloudiness after resuming normal operation.
During rinsing, you should:
- Turn off the pump before switching the valve to “Rinse.”
- Set the multiport valve firmly to “Rinse” to avoid leaks.
- Turn the pump back on for 1-2 minutes until the water in the sight glass runs clear.
- Turn off the pump and switch the valve back to “Filter” before restarting normal filtration.
These steps ensure debris is flushed out and your filter is ready for maximum performance.
Returning the Filter to Normal Operation
Once you’ve completed rinsing your sand filter, the next step is to return it to normal operation by setting the valve to the “Filter” position. Before doing this, turn off the pump to prevent damage and water from flowing incorrectly. Depress the valve handle before rotating it to avoid damaging the seal. Confirm the multiport valve is securely in the “Filter” position, then restart the pump. Check for leaks and make sure water flow is steady. After restarting, verify the pressure gauge reading, which should be between 10 and 25 PSI. Note the initial pressure for future reference. To ensure optimal performance, inspect the paint sprayer components for any residual debris or paint buildup that may affect operation. Once the system stabilizes, your filter is back to normal operation, ready for regular filtration to keep your pool water clear.
Monitoring and Maintaining Your Sand Filter System
To keep your sand filter working efficiently, you need to regularly check the pressure gauge and note any increases beyond 5-10 psi. Establishing a routine for scheduled maintenance, like backwashing and inspecting the media, helps prevent clogs and system issues. By staying consistent with these practices, you’ll extend the life of your filter and guarantee clear, healthy water. Performing backwash cycles regularly is essential for maintaining optimal filter performance and preventing long-term buildup of dirt and debris. Additionally, monitoring the filter media condition ensures that the sand remains effective in trapping particles and contaminants.
Regular Pressure Checks
Regular pressure checks are essential for maintaining your sand filter’s efficiency and preventing costly damage. By monitoring the gauge regularly, you can catch issues early and keep your system running smoothly. Look for signs like:
- Pressure rising 5–10 psi above baseline, indicating media clogging
- Sudden steep pressure spikes, risking pump damage
- Pressure dropping 5+ psi below baseline, suggesting flow obstructions or pump issues
- Physical damage or foggy lenses on the gauge, impairing accuracy
Consistently recording and comparing pressure readings helps you identify deviations and determine when to backwash or inspect the system. Maintaining proper pressure ensures crucial filtration, prolongs equipment life, and reduces the risk of costly repairs. Regular checks are a simple yet vital part of pool maintenance.
Scheduled Maintenance Routines
Maintaining your sand filter system requires consistent monitoring and routine upkeep to guarantee peak performance. Regularly check the pressure gauge and backwash when it reads 8-10 psi above the starting pressure, running the backwash for 3-5 minutes to remove debris. Conduct deep chemical cleaning twice a year to preserve filtration efficiency, and drain the filter during winterization to prevent freeze damage. Replace the sand every 3-5 years based on usage and water quality. Inspect components like effluent filters, risers, and joints annually to prevent clogs and leaks. Flush lateral pipes yearly to clear sediment. Keep an eye on sludge levels and pump tanks when solids reach one-third capacity. Perform operational checks monthly and clear debris around the system for ideal performance. Additionally, ensuring proper contrast ratio can significantly improve the clarity and depth of the filtered water, contributing to overall system effectiveness.
Frequently Asked Questions
How Often Should I Backwash My Sand Filter?
You should backwash your sand filter every 1 to 2 months, but it depends on your pool’s usage and debris levels. If you notice reduced flow, cloudy water, or the pressure gauge rising 8-10 psi above your baseline, it’s time. During heavy use or after storms, backwash more often, even as frequently as every 1-4 weeks. Regular monitoring guarantees your filter remains clean and your water clear.
Can I Backwash During the Day or Only at Night?
You can backwash your sand filter anytime, day or night—there’s no restriction. In fact, over 80% of pool owners backwash based on pressure readings, not time. When your pressure gauge reads 5 psi above the normal, that’s your cue to backwash, regardless of whether it’s morning or evening. Focus on filter needs, not the clock, to keep your pool clean and running efficiently.
What Should I Do if the Pressure Gauge Doesn’T Drop After Backwashing?
If your pressure gauge doesn’t drop after backwashing, start by inspecting the filter sand for dirt, channeling, or clumping. Clean or replace the pressure gauge to verify accuracy. Check for external obstructions like closed valves or debris blocking flow. Also, examine the multiport valve for leaks or improper settings. If pressure remains high, consider replacing the sand or consulting a professional, as internal damage or sand degradation might be the cause.
Is It Necessary to Replace the Sand After Backwashing?
Think of your filter’s sand as a sponge slowly losing its zest. You don’t need to replace it after every backwash, but over time, the sand becomes like smooth pebbles, unable to trap dirt effectively. If your water stays cloudy or pressure stays high despite backwashing, it’s a sign the sand has worn out. Replacing the sand refreshes your filter’s ability to keep water crystal clear and healthy.
How Can I Tell if My Backwash Hose Is Properly Secured?
You can tell if your backwash hose is properly secured by checking for a tight, leak-free connection. Make certain the hose fits snugly over the waste port without gaps, and the clamp is evenly tightened around it. Gently pull on the hose—if it doesn’t move or wiggle, it’s secure. Also, watch for leaks or water spraying during operation, which indicate the connection needs adjusting.
Conclusion
Remember, a well-maintained sand filter keeps your pool sparkling and inviting. Regular backwashing may seem like a small task, but it makes a big difference in water clarity and filter longevity. Don’t wait until problems arise—nip them in the bud. As the saying goes, “A stitch in time saves nine.” By following these steps, you’ll guarantee your pool stays clean and beautiful all season long.