
Creating your own pool toys is a fun way to customize your water fun while saving money. Use durable, waterproof materials like vinyl, PVC, or recycled fabrics to craft inflatable animals, floats, water bombs, or pool noodles. Add bright colors and personal touches for extra flair. With some simple tools and safety in mind, you can design toys that last and boost your poolside enjoyment. Keep going to discover easy tips and ideas to make your pool time even better.
Key Takeaways
- Use durable, eco-friendly materials like waterproof foam, recycled fabrics, and vinyl to craft safe, long-lasting pool toys.
- Inflate and mold flexible materials into animal shapes or fun designs, adding details with waterproof markers or paint.
- Personalize floats with favorite colors, patterns, or names, ensuring safety by avoiding sharp edges and unstable shapes.
- Create water bombs and splash balls using balloons filled with water, sealed tightly for quick, lightweight pool play.
- Design and assemble DIY pool accessories like inflatable ring toss games and floating puzzles with waterproof vinyl and secure fittings.

JOINBO Kids Fun Pool Toys,Inflatable Shark Cornhole Board Floating Water Game Outdoor Swim Play for Adults Family,Cool Summer Party Gift for 6 7 8 9 10 12 Year Old Boy Girl Teen
INFLATABLE SHARK CORNHOLE BOARD:Shark cornhole board:38” x 30” x 11”,Bean bags*3: 2.7” x 2.7”. This pool cornhole board...
As an affiliate, we earn on qualifying purchases.
Selecting the Right Materials for DIY Pool Toys
Choosing the right materials is essential to creating safe and durable DIY pool toys. You want materials that can withstand exposure to water, sunlight, and frequent use without degrading. Prioritize material durability by selecting items like heavy-duty vinyl, PVC, or waterproof foam, which won’t easily tear or warp. Additionally, consider eco friendly options to reduce environmental impact. Look for biodegradable or recycled materials that are safe for both kids and the planet. Avoid cheap plastics that may break quickly or release harmful chemicals. Using high-quality, eco-conscious materials ensures your pool toys last longer and remain safe for everyone to enjoy. For example, store hours can influence when you might shop for supplies or test your creations, so plan accordingly. Incorporating sustainable materials can further enhance the environmental friendliness of your DIY projects. When choosing materials, also consider material safety standards to ensure they meet health and safety regulations. Selecting durable and water-resistant materials is crucial to ensure your DIY pool toys withstand frequent water exposure and rough play. Additionally, selecting lightweight and flexible materials can make handling and shaping your toys easier during construction. With the right choices, you’ll create fun, long-lasting toys that are both environmentally responsible and built to withstand poolside adventures.

Pool Toys & Pool Games, Flamingo Shark Pool Float Ring Toss - Inflatable Floating Water Game Set for Kids Ages 4-8, 8-12 and Adults, Summer Swimming Pool Party Decorations & Backyard Fun (1-Flamingo)
POOL TOYS & POOL GAMES FOR SUMMER FUN: Start your summer with this classic inflatable ring toss game!...
As an affiliate, we earn on qualifying purchases.
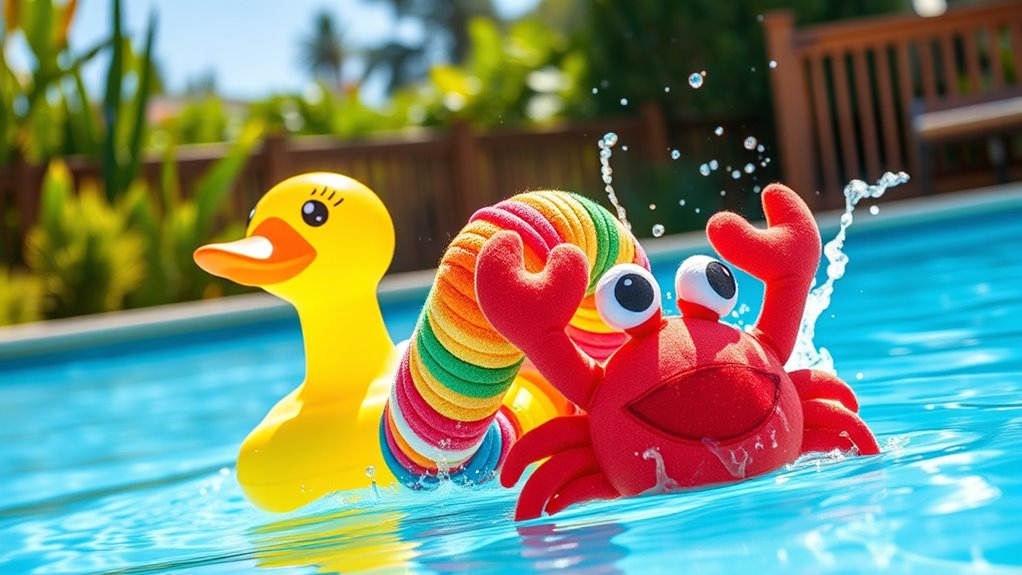
Crafting Colorful Inflatable Animals

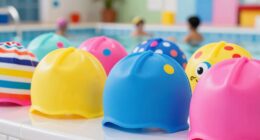
To make your inflatable animals stand out, choose bright, eye-catching colors that match your style. Focus on shaping each animal with clear, recognizable forms to bring them to life. With the right colors and shapes, your pool toys will be both fun and visually appealing. Additionally, consider incorporating safe and non-toxic materials to ensure your DIY toys are suitable for everyone to enjoy. Using child-friendly paints and adhesives can also enhance durability and safety for all users. Incorporating waterproof and UV-resistant materials will help your toys withstand sun exposure and water play. Moreover, selecting appropriate materials can help prevent damage and prolong the lifespan of your creations. Paying attention to plant vitality ensures your designs remain vibrant and last throughout the swimming season.
Choosing Bright Colors
Have you ever noticed how bright colors make inflatable animals more eye-catching and fun? Choosing the right colors can transform your DIY pool toys into vibrant attractions. Neon color schemes instantly grab attention with their bold glow, perfect for lively pool days. Pastel color choices, on the other hand, add a softer, playful touch that appeals to all ages. Here’s a quick comparison:
| Neon Color Schemes | Pastel Color Choices | Best For |
|---|---|---|
| Bright, glowing hues | Soft, gentle shades | Daytime pool parties |
| Eye-catching impact | Subtle elegance | Relaxed, friendly vibes |
| High visibility | Calm, soothing tones | Family-friendly designs |
Pick colors that match your vibe and make your inflatable animals stand out! Additionally, scenic views and charming local shops can enhance your overall poolside experience. To further elevate your DIY project, consider color theory principles to select combinations that create the most appealing visual impact, especially since understanding color psychology can help you choose hues that evoke the desired mood or atmosphere. Incorporating color contrast techniques can also make your designs pop even more.
Shaping Animal Forms
Bright colors make your inflatable animals pop, but their true charm comes from shaping them into recognizable animal forms. To create impressive animal sculptures, start by inflating your chosen material and carefully molding it into the desired shape. Focus on defining key features like fins, ears, or tails to transform simple inflatables into plush aquatic creatures that look lively and fun. Use a permanent marker or paint to add details like eyes or patterns, enhancing their realism. Experiment with different animals—fish, dolphins, or turtles—to diversify your pool décor. Shaping animal forms takes patience, but the Proper shaping techniques can help achieve more realistic and appealing animal figures. Developing your skills through consistent practice can further improve your results. Additionally, understanding inflatable materials can help you select the best options for durability and ease of shaping. Knowing how cost factors influence the availability of different supplies can help you plan your projects more effectively. These DIY plush aquatic creatures will delight kids and adults alike.

61" Inflatable Palm Tree Backyard Sprinkler for Kids, Spray Water Pool Toy Inflatable sprinkler for yard Outdoor Hawaiian Party Coconut Tree for Lawn Sprinkler for Boys Girls Backyard Beach Games Toys
61 "Inflatable Sprinkler: Our Inflatable palm trees stands over 61 '', Base 27.5 inches. The water sprinkle from...
As an affiliate, we earn on qualifying purchases.
Making Personalized Pool Floats
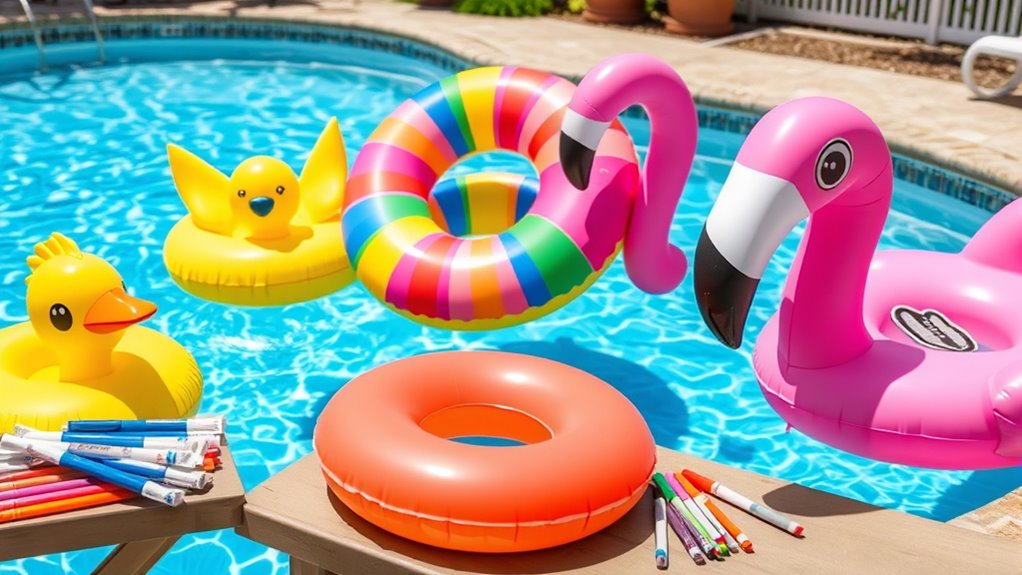
Creating personalized pool floats is a fun way to add a unique touch to your swimming setup. You can customize floats with your favorite colors, patterns, or even names, making your pool area truly yours. When designing your floats, keep pool safety in mind—avoid sharp edges or unstable designs that could cause accidents. To keep your creations in good shape, consider practical storage solutions like deflating and folding them when not in use, which also helps extend their lifespan. Personalizing floats not only boosts your poolside style but also makes it easier to identify your belongings. Plus, crafting your own adds a creative element, turning simple materials into fun, functional pool accessories. Incorporating DIY techniques can help you create more durable and personalized floats to enjoy season after season. Additionally, exploring crafting tips can improve your results and ensure your floats are both safe and long-lasting. Using the right yarn for scarves can contribute to the strength and flexibility of your float materials, especially if crafting with fabric-based components. When working with lightweight materials, understanding freeze-drying candy processes can inspire innovative, lightweight float designs that are easy to store and transport. Considering furniture design elements like rustic finishes can also inspire creative ideas for enhancing your pool float aesthetics. Enjoy your custom floats while staying safe and organized!

Vinyl Works SLA A-Frame 48 to 56 Inch Adjustable Above Ground Swimming Pool Ladder Entry System with Slide Lock Barrier and Handrails, White
Safely get in and out of your above-ground pool with a step-in pool ladder with double handrails designed...
As an affiliate, we earn on qualifying purchases.
Creating Water Bombs and Splash Balls
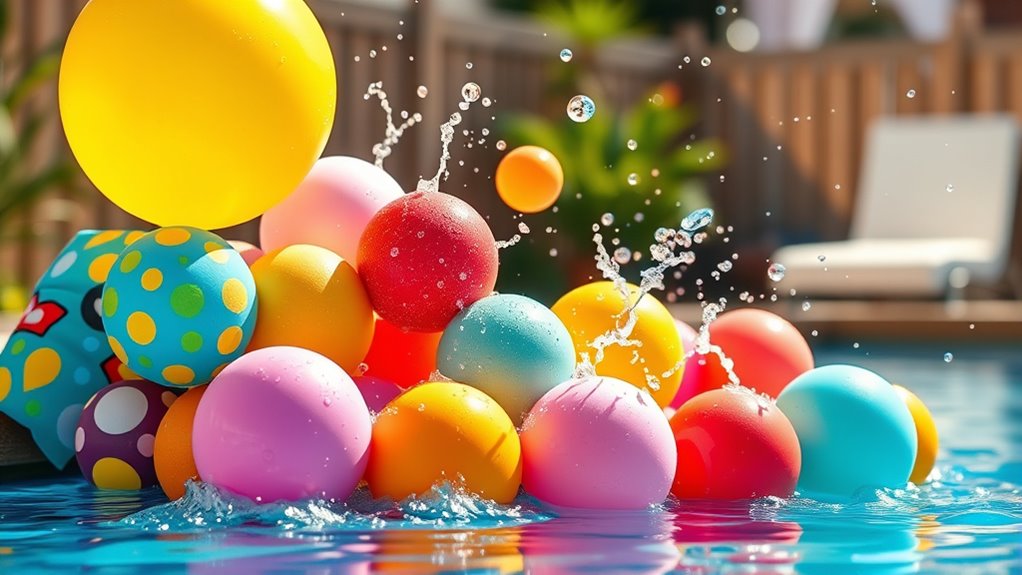
Getting started with water bombs and splash balls is easy once you gather the right materials, like balloons, water, and optional fillers. We’ll walk you through a simple filling process to guarantee your toys are ready for fun. Remember to follow safety tips to keep everyone safe during play. Incorporating humor in divorce through playful activities like water fights can add a light-hearted touch to your water toy adventures.
Materials Needed for Water Bombs
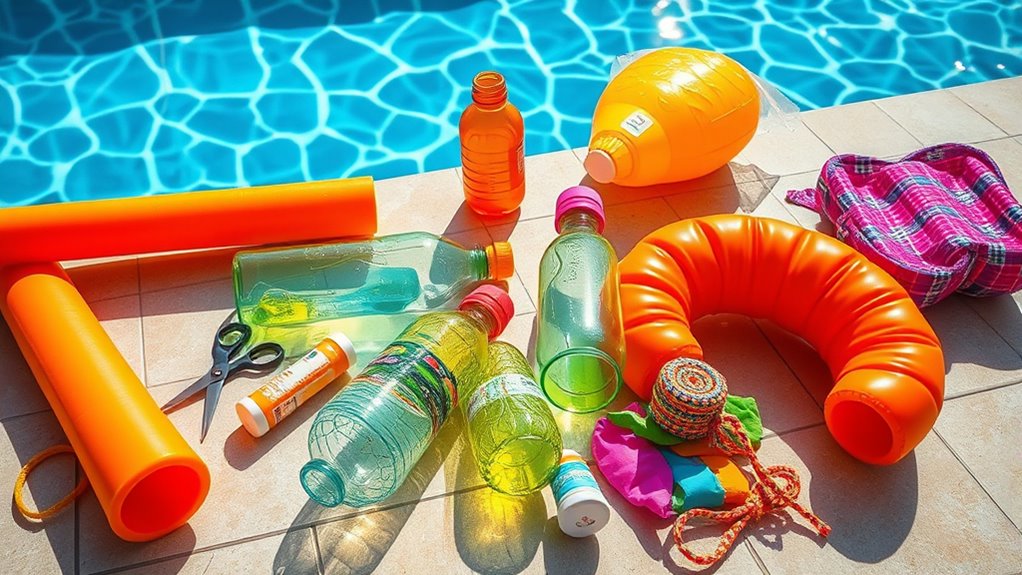
To make water bombs and splash balls, you’ll need a few simple materials that are easy to find around your home. Having the right supplies guarantees your DIY fun stays hassle-free and safe for pool maintenance. Here’s what you’ll need:
- Balloons (preferably small and durable)
- Water (for filling)
- Scissors (to cut the balloons)
- Funnel (makes filling easier)
- Waterproof storage (to keep your water bombs dry when not in use)
Using waterproof storage helps keep your water bombs in good condition and ready for your next splash session. Make sure to store your supplies properly to prevent deterioration. With these materials, you’ll quickly craft vibrant, fun water bombs perfect for poolside entertainment.
Step-by-Step Filling Guide
Have you ever wondered how to fill your water bombs quickly and easily? To guarantee water safety and maintain your pool’s cleanliness, start by choosing a clean, debris-free area. Fill a bucket with water, then carefully submerge the water bomb, avoiding overfilling to prevent leaks. Use a funnel if needed for precise filling. Once filled, gently squeeze out excess air before sealing tightly, preventing leaks and ensuring safety during play. Regularly check for leaks or damage to keep your pool safe and minimize messes that could affect pool maintenance. Filling your water bombs with care not only makes the process faster but also prolongs their lifespan, so you can enjoy more splashy fun without risking water safety or pool upkeep. Additionally, using high-quality projectors can enhance your viewing experience when relaxing by the pool. Incorporating properly sealed water bombs can also help prevent accidental spills and water wastage.
Safety Tips for Splash Balls
Creating splash balls and water bombs can be a fun way to stay cool, but safety should always come first. Always supervise children during water play to prevent accidents. When storing your pool toys, use a designated pool toy storage area to keep them dry and avoid damage. Regular maintenance tips include checking for leaks or tears before each use to prevent choking hazards or injuries. Avoid throwing splash balls directly at faces or heads to prevent injuries. Keep sharp objects away from your water bombs and splash balls. Additionally, clean and dry your pool toys after use to prevent mold. By following these safety tips, you ensure safe, fun water play while extending the life of your pool toys.
Designing DIY Pool Noodles

Designing DIY pool noodles offers a fun opportunity to customize your pool experience. To guarantee your noodles are both comfortable and durable, focus on enhancing pool noodle flexibility by choosing the right eco friendly materials. You might select natural foam or recycled fabrics that bend easily without cracking or breaking. When designing, consider adding textured grips or decorative patterns to boost visual appeal and functionality. Using eco friendly materials not only benefits the environment but also keeps your pool safe from harmful chemicals. Measure and cut your materials precisely to create the perfect length and shape for your needs. With a little creativity, you can craft pool noodles that are not only fun and functional but also environmentally conscious and uniquely yours.
Building Inflatable Ring Toss Games
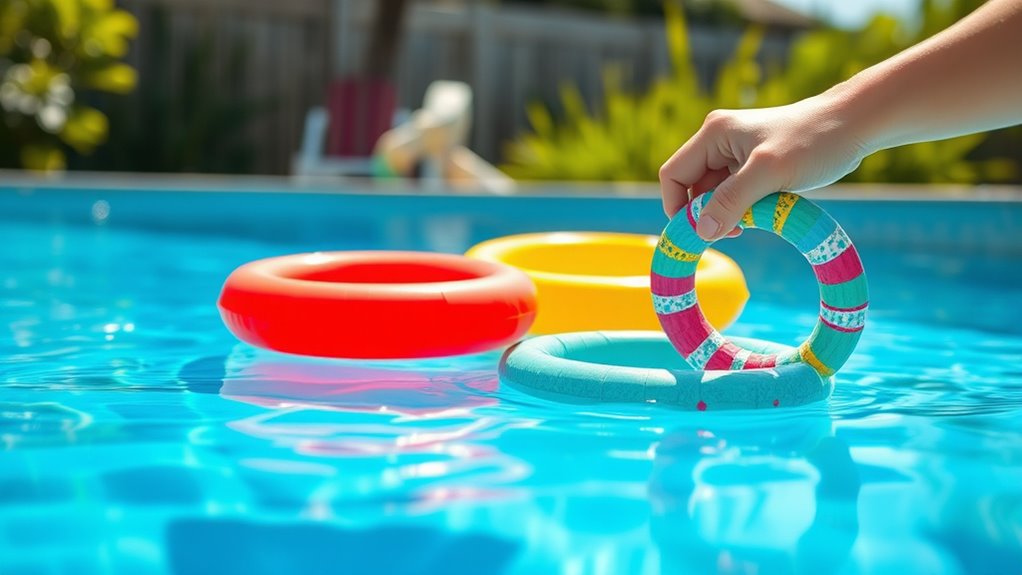
Building inflatable ring toss games is a great way to add interactive fun to your poolside activities. Start by selecting durable, lightweight materials for the inflatable rings and target bases. Focus on innovative pool game design to make your game engaging and easy to set up. You can customize the size and colors to match your pool theme. To create your inflatable ring toss:
- Use waterproof vinyl for rings and bases
- Incorporate weighted bottoms for stability
- Attach inflation valves for quick setup
- Design adjustable heights for different skill levels
- Add vibrant patterns to increase visual appeal
Assembling Floating Puzzle Pieces
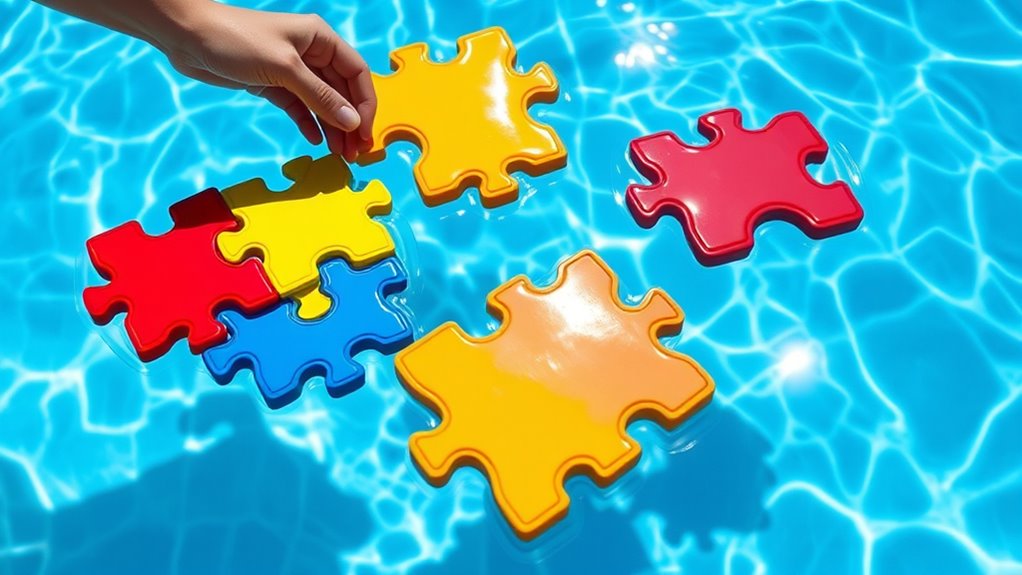
To assemble floating puzzle pieces, start by selecting waterproof, lightweight foam or plastic pieces that fit together snugly. During floating puzzle assembly, ensure each interlocking water piece clicks securely into place, creating a stable, seamless surface. Lay out the pieces on a flat, dry area before placing them in the pool to confirm they fit properly. When connecting, press firmly to lock the interlocking water pieces together, avoiding gaps that could cause instability. If a piece doesn’t fit, double-check for proper alignment or debris. Once assembled, gently position the puzzle in the water, making sure all connections hold tightly. This simple process allows you to customize and expand your floating puzzle, making your pool area more interactive and fun.
Crafting Custom Pool Flags and Banners
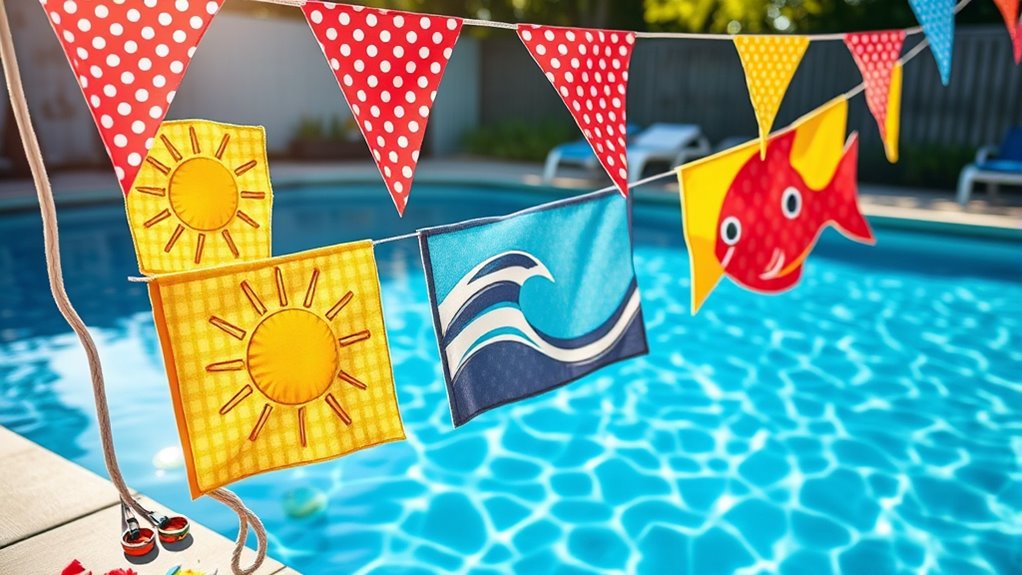
Creating custom pool flags and banners is a fun way to personalize your swimming area and showcase your style. You can easily design decorative pool flags that reflect your personality or party theme. Use bright colors and bold patterns to make your banners stand out. To get started, try these ideas:
- Choose durable fabric suitable for outdoor use
- Use fabric paints or iron-on transfers for custom designs
- Incorporate your favorite colors and motifs
- Add decorative elements like tassels or fringes
- Attach flags to a sturdy pole or string for easy hanging
With some creativity, your custom banner designs will make your pool area more festive and inviting. Whether for a celebration or everyday fun, these personalized touches add a unique flair to your swimming space.
Tips for Safe and Durable Pool Toy Creations
When designing your own pool toys, prioritizing safety and durability helps guarantee everyone has fun without worries. Use non-toxic, eco friendly materials like silicone, BPA-free plastics, or natural rubber to assure your creations are safe for kids and the environment. Always test for sharp edges or weak spots that could cause injuries or breakage. Reinforce seams and joints to withstand active play and avoid sudden tears. Keep in mind pool safety guidelines—avoid small parts that could be swallowed and ensure your toys are buoyant and stable. Proper drying and storage also extend your pool toy’s lifespan. By choosing eco friendly materials and focusing on sturdy construction, you create fun toys that are safe, durable, and kind to the planet.
Frequently Asked Questions
What Safety Precautions Should I Consider When Making DIY Pool Toys?
When making DIY pool toys, you should prioritize materials safety by choosing non-toxic, durable supplies that won’t easily break. Always supervise children closely during crafting and when using the toys to prevent accidents. Guarantee the toys are smooth and free of sharp edges to avoid cuts. Keep small parts away from young kids to prevent choking hazards. Taking these precautions helps keep your pool time safe and enjoyable for everyone.
Are There Eco-Friendly Materials Suitable for DIY Pool Toy Crafts?
While crafting pool toys, you might think of vibrant plastics and foam, but eco-friendly options exist. You can use biodegradable materials that break down naturally, reducing environmental impact, or recycled plastics repurposed into safe, durable toys. These eco-conscious choices not only protect the planet but also guarantee your fun doesn’t come at nature’s expense. Embracing sustainable materials makes your DIY projects more responsible and enjoyable for everyone.
How Can I Ensure DIY Pool Toys Are Long-Lasting and Resistant to Water?
To guarantee your DIY pool toys last and resist water, focus on choosing materials with good material durability and water resistance. Use waterproof sealants and coatings to protect the surface, and select sturdy, water-friendly materials like EVA foam or sealed plastic. Avoid porous or absorbent materials that can degrade over time. Regularly inspect and repair any damage to maintain their water resistance and longevity, making your pool toys durable and fun for seasons to come.
Can I Customize Pool Toys for Different Age Groups or Skill Levels?
Ever wondered how to make pool toys more fun and inclusive? You can definitely customize pool toys for different age groups or skill levels by designing age-appropriate toys and focusing on skill level customization. For young kids, opt for soft, buoyant, and brightly colored designs, while for older kids or adults, choose more challenging or durable options. Tailoring your DIY creations guarantees everyone enjoys the pool safely and comfortably.
What Are Some Budget-Friendly Ideas for Creating DIY Pool Toys?
Looking for budget-friendly DIY pool toys? You can create fun inflatable shapes using inexpensive materials like plastic bottles or balloons, which are easy to inflate and customize. Foam crafts are also great—cut and decorate foam sheets into various shapes for floating toys or pool accessories. These ideas are affordable, simple, and perfect for customizing for different age groups, making your pool time more enjoyable without breaking the bank.
Conclusion
Creating your own pool toys isn’t just fun—did you know that DIY projects can save you up to 50% compared to store-bought options? With a little creativity and the right materials, you can craft colorful inflatables, water bombs, and even floating games that make your pool days unforgettable. Plus, you control the designs and safety. Immerse yourself in DIY and transform your pool into a personalized aquatic playground today!