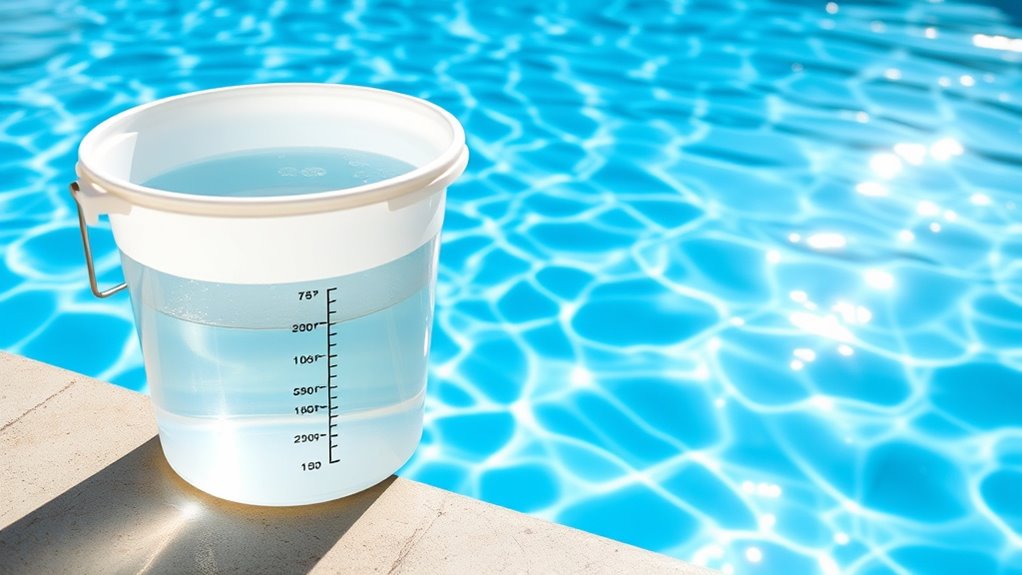

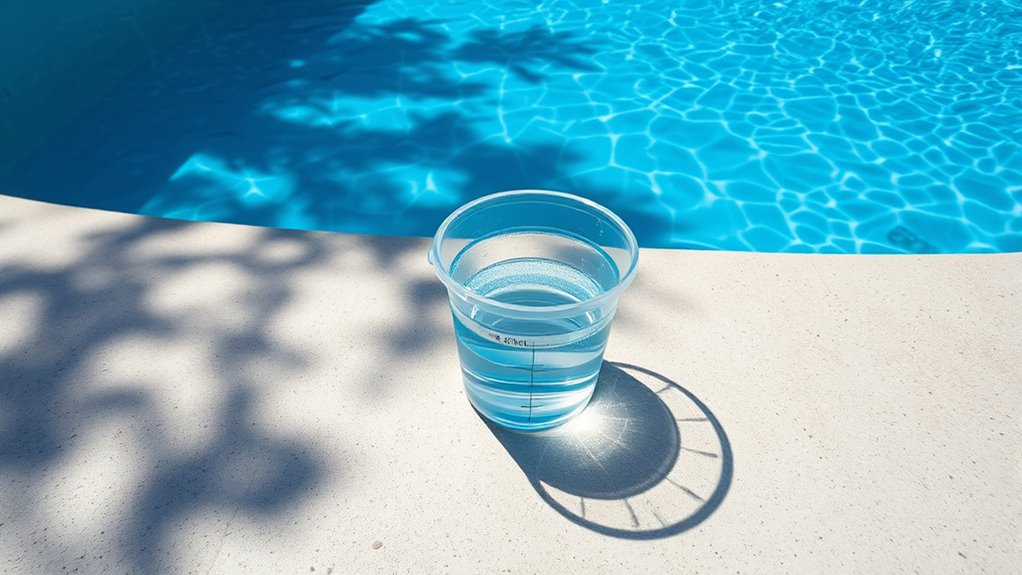
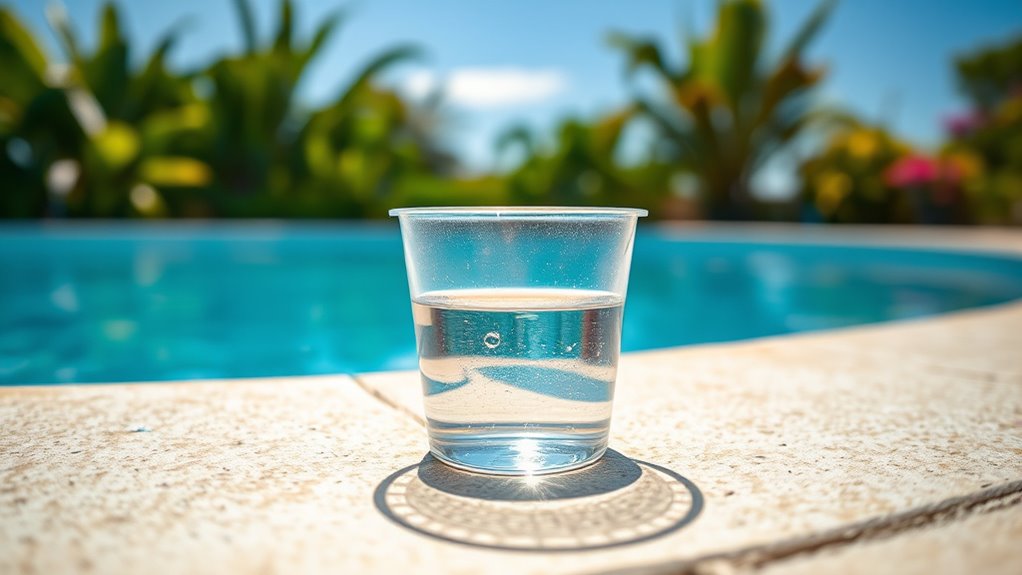
To see if your pool is leaking, do a simple bucket test. Fill a five-gallon bucket with pool water about an inch from the top and place it on a pool step, making sure it’s properly weighed down. Mark the water levels inside and outside the bucket. Turn off everything that moves water, then check after 24 hours. If the pool’s water level drops more than the bucket’s, you likely have a leak. Keep going to learn how to interpret the results and fix it.
Key Takeaways
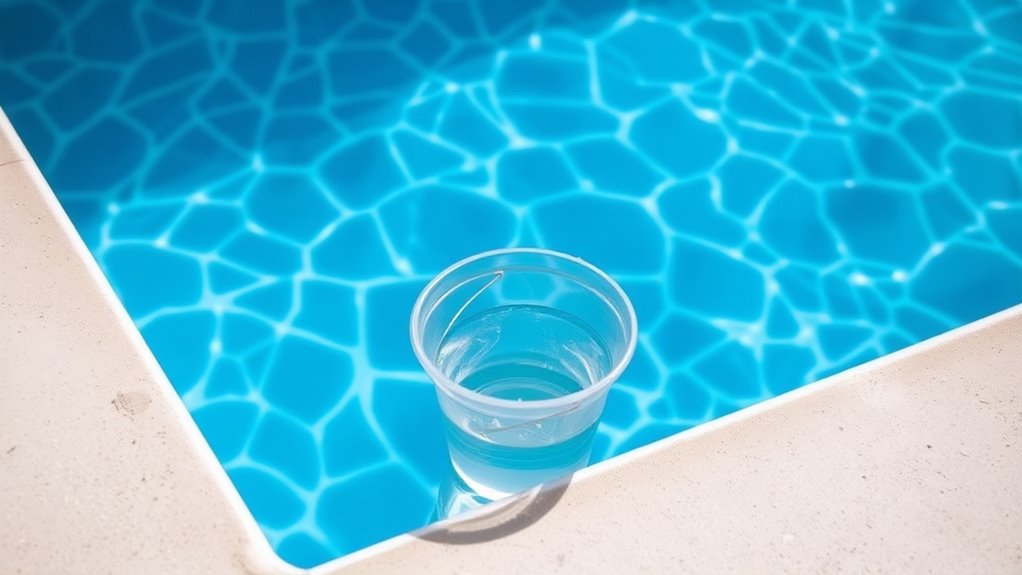
- Fill a leak-proof bucket with pool water, mark the water levels inside and outside, then place it on a pool step.
- Turn off pool pumps, filters, and auto-fill to ensure consistent water levels during the test.
- Keep the water levels steady for 24 hours without disturbance, avoiding rain or splashing.
- After 24 hours, compare the water level drops inside the bucket and outside; similar drops mean evaporation, larger outside drop suggests a leak.
- Conduct regular bucket tests to identify leaks early, preventing costly damage and ensuring a healthy, leak-free pool.
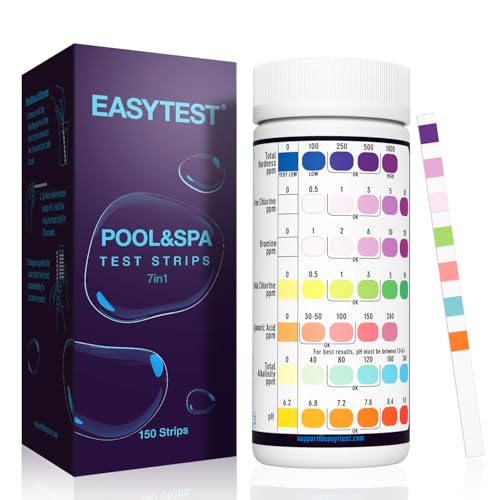
EASYTEST 7-Way Pool Test Strips, 150 Strips Water Test for Hot tub and Spa
- 150 Test Strips Included: Enough for frequent water testing
- Fast and Accurate Results: Soak for 1 second, read in 15 seconds
- 7-in-1 Testing Kit: Measures Bromine, pH, Chlorine, and more
As an affiliate, we earn on qualifying purchases.
Understanding the Purpose of the Bucket Test
Have you ever wondered whether your pool is losing water because of a leak or just evaporation? The bucket test helps you figure that out. Its main purpose is to distinguish between water loss caused by evaporation and a leak. This simple, cost-effective method allows you to assess whether your pool is wasting water unnecessarily or if it’s just normal evaporation. By doing so, you can avoid spending money on professional leak detection services when they aren’t needed. The test also helps catch leaks early, preventing more water waste and potential damage. Widely recommended by pool experts, it gives you a clear way to monitor your pool’s water level. Proper water conservation techniques can further enhance your pool maintenance routine. Overall, the bucket test empowers you to make informed decisions about your pool’s maintenance.
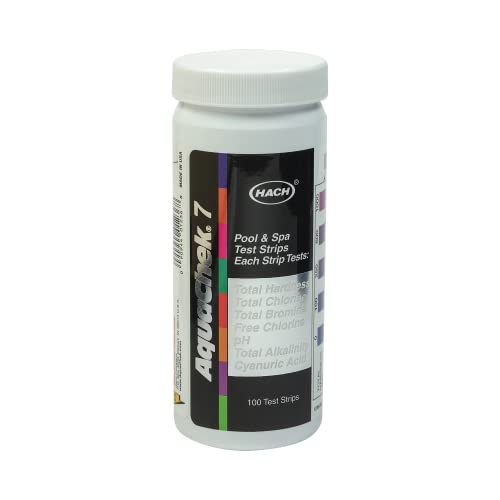
AquaChek 7-Way Pool and Spa Test Strips - Silver Pool Test Strips For pH, Total Chlorine, Free Chlorine, Bromine, Alkalinity, Total Hardness, and Cyanuric Acid - Water Quality Testing Kit (100 Strips)
- 7-in-1 Water Parameter Testing: Tests pH, chlorine, bromine, alkalinity, hardness, cyanuric acid
- Accurate Results with Medical Technology: Provides lab-quality accuracy without liquid reagents
- Simple and Mess-Free Use: Dip, wait 15 seconds, and compare with color chart
As an affiliate, we earn on qualifying purchases.
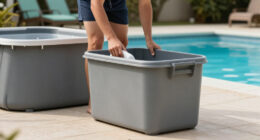
Gathering the Necessary Materials
To guarantee an accurate bucket test, gather all necessary materials before starting. You need to ensure everything is in place so your results are reliable. First, select a five-gallon leak-free, opaque, wide-mouth plastic bucket—it’s essential for consistent, clear readings. Second, grab marking tools like a waterproof grease pencil, electrical tape, or permanent marker to record water levels precisely. Third, find a heavy brick or rock to weigh down the bucket, keeping it steady and preventing floating. Lastly, prepare water from your pool—fill the bucket to about 1 inch from the top and keep the pool water at normal level. Having these items ready guarantees a smooth, accurate test without interruptions or inaccuracies.

5 in 1 Pool Test Strips, for Water Pool & Hot Tub & Spa & Swimming Pools
- Multi-Parameter Testing: Tests pH, chlorine, hardness, alkalinity
- 50 Test Strips: Includes 50 strips for regular testing
- Fast, Accurate Results: Provides quick, reliable water quality data
As an affiliate, we earn on qualifying purchases.
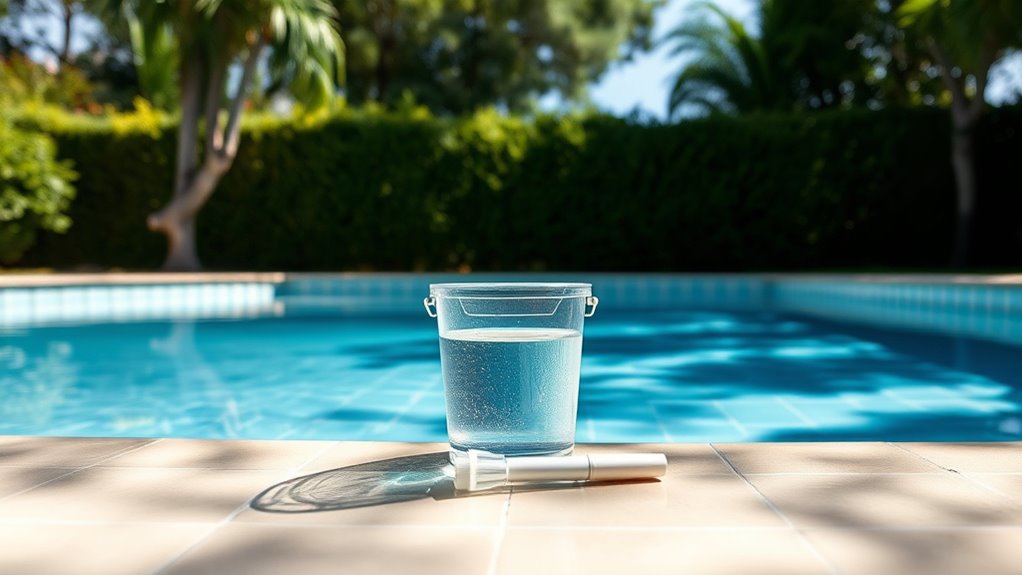
Preparing Your Pool and Bucket for Testing
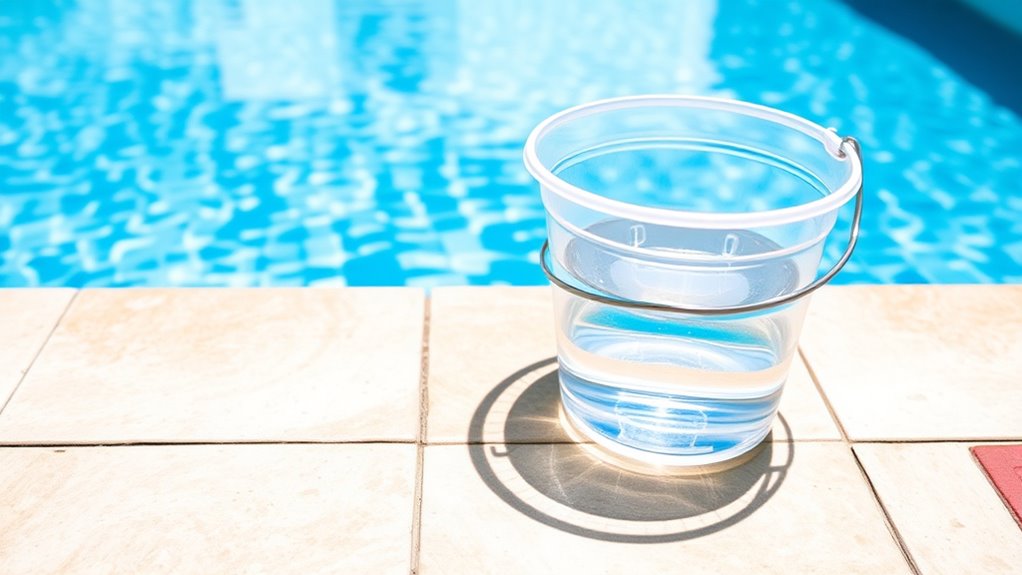
Ensuring your pool and bucket are properly prepared is essential for an accurate leak test. Start by adjusting the pool water level to its normal operating point, usually halfway up the skimmer opening. Too low, and evaporation effects may be exaggerated; too high, water might splash out during normal use. Place your bucket on the first or second step of the pool to keep it stable and prevent tipping, ideally near the pool wall for easy comparison. Fill the bucket with pool water to about one inch from the top, ensuring similar evaporation rates and temperature conditions. Avoid areas with strong currents or near pump returns. Perform the test during calm weather, turn off autofill devices, and refrain from pool use during the 24-hour period for reliable results. Monitoring celebrity lifestyle insights can help you understand how private paradises are designed to minimize maintenance and water loss.

FINCOME Inflatable Water Slide, Bounce House with 2 Slide for Kids, Inflatable Waterslide Park with Splash Pool, Basketball Hoop, Ball Shooting & Water Cannon for Backyard, Outdoor, Indoor
- Two Slides for Different Ages: Includes two slides of varying heights
- Multiple Play Areas: Splash pool, basketball hoop, water cannon
- Durable Material: Made from premium PVC-coated Oxford fabric
As an affiliate, we earn on qualifying purchases.
Marking Water Levels for Accurate Measurement
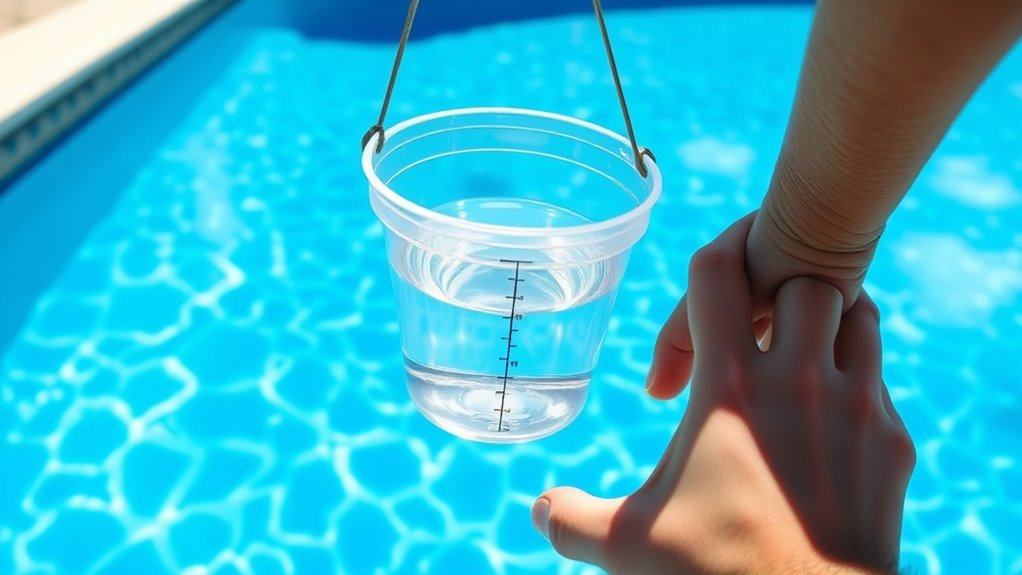
Marking water levels accurately is essential for obtaining reliable test results. Your ability to precisely note water levels impacts the accuracy of detecting leaks or evaporation. To do this effectively:
- Use a fine waterproof marker to draw a thin, clear line inside the bucket at the initial water level—where pool and bucket water are equal.
- Mark the outside pool waterline consistently at a fixed point, like a tile or skimmer edge, before starting the test.
- Place the bucket on the pool step for a level surface, ensuring initial marks reflect the same elevation.
- Re-mark the water levels if needed during the test, maintaining visibility and accuracy.
- Proper marking techniques reduce human error and help prevent human error, giving you confidence in your measurements and peace of mind about your pool’s condition.
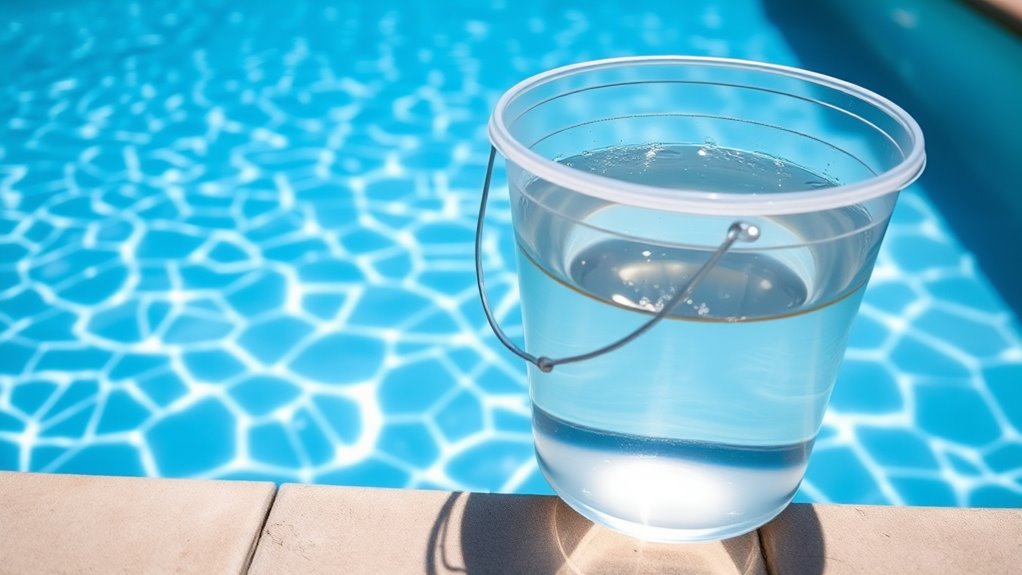
Conducting the 24-Hour Test Period
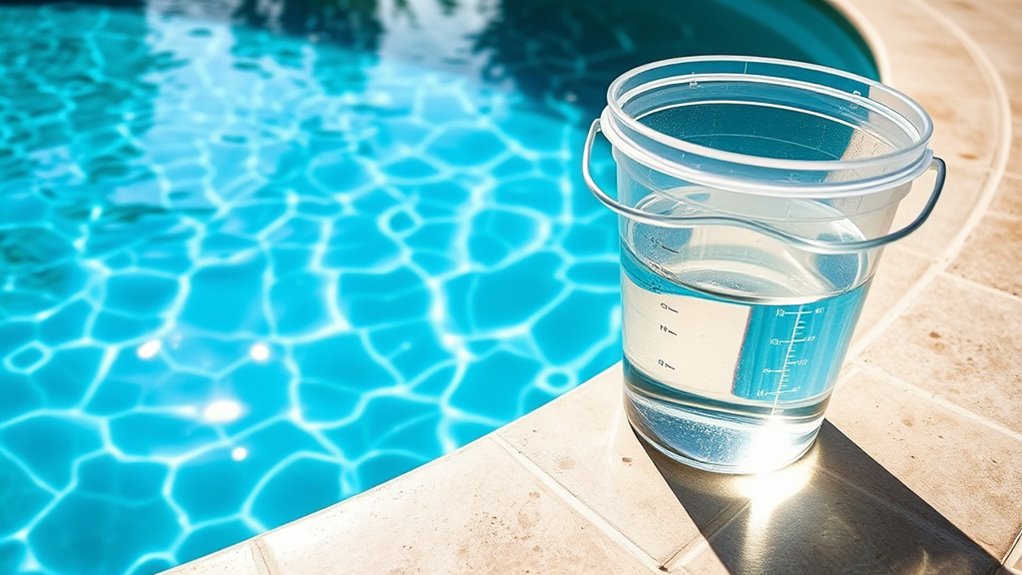
Setting up your 24-hour pool leak test involves careful planning to get accurate results. First, place the bucket on a pool step, submerged to match the pool water level. Mark the water levels inside and outside the bucket. Keep auto-fill systems, pumps, and filters off to prevent interference. During the test period, avoid adding water or disturbing the setup, and don’t conduct the test during rain. If the bucket floats, weigh it down. Here’s a visual to help you visualize the process:
| Step | Description |
|---|---|
| 1 | Place bucket on pool step and mark levels |
| 2 | Turn off auto-fill, pumps, and filters |
| 3 | Keep water levels unchanged for 24 hours |
| 4 | Do not disturb or add water during the period |
This ensures consistent conditions for accurate results.
Monitoring Environmental Factors During the Test

Monitoring environmental factors during your pool leak test is essential because weather conditions can profoundly influence evaporation rates. If you’re unaware of these factors, you might misinterpret natural water loss as a leak. Be mindful of:
- Wind, which speeds up evaporation and can exaggerate water loss. Strong winds can significantly accelerate evaporation, making it harder to distinguish between natural loss and leaks.
- Sunlight, increasing water temperature and accelerating evaporation.
- Humidity levels, where high humidity slows evaporation and might hide leaks.
- Barometric pressure, as lower pressure generally boosts evaporation.
- Temperature fluctuations, which can cause inconsistent evaporation rates and affect test accuracy. Additionally, understanding evaporation dynamics can help interpret results more accurately under varying environmental conditions.
Comparing Water Level Changes to Detect Leaks
To determine if your pool has a leak, compare the water levels inside the bucket to those outside after 24 hours. First, mark the water level inside the bucket with a waterproof marker or tape, and do the same for the pool’s surface, ensuring both marks are at eye level for accuracy. After 24 hours, check both marks carefully. If the pool’s water level outside the bucket drops more than the inside level, you likely have a leak. If both levels drop equally, water loss is probably due to evaporation. A smaller difference or no change suggests no leak. Remember, weather conditions like rain or pool disturbances can affect the results, so verify the test remains undisturbed during this period. Performing the test at the same time each day helps ensure consistent results. For added confidence, consider monitoring the water levels over several days to confirm the pattern.
Interpreting the Results Effectively

Interpreting your bucket test results accurately is crucial for determining whether your pool has a leak. When water levels inside the bucket match the pool, it usually means no leak exists, and water loss is just evaporation. Slight drops in both levels are normal in warm, dry weather, so don’t panic. However, if the pool level drops considerably more than the bucket, it likely indicates a leak that needs urgent attention. Factors like weather conditions and timing can influence results, so conduct the test during stable weather and avoid pool use. Always mark water levels precisely and compare over 24 hours for clarity. Remember:
- Equal levels mean no leak—stay calm.
- Greater loss in the pool signals trouble.
- External factors can distort results.
- Document everything for confidence.
Additionally, understanding the Bucket Test process helps homeowners better interpret their findings and decide on necessary actions. Being aware of water evaporation rates can aid in more accurate assessments and prevent false alarms.
Common Mistakes to Avoid During Testing
Avoiding common mistakes during your pool leak test is essential to obtain accurate results. First, ensure the bucket is filled to match the pool water level exactly, and place it on a stable, level surface like a pool step. Use a brick or weight to prevent movement and clearly mark water levels with waterproof markers or tape. Do not place the bucket directly on the pool floor, and avoid using damaged or permeable containers. Keep the bucket submerged about 5 inches below waterline and avoid turbulence around it. Proper installation planning and maintenance schedules can help ensure consistent testing conditions.
Next Steps After Identifying a Leak
Once you’ve confirmed the presence of a leak, taking prompt action to repair it can save you time and money. Addressing small issues quickly prevents them from worsening and costing more later. Here are your next steps:
- Assess the damage — identify if it’s a minor crack, leak around fittings, or a structural problem. Recognizing pool leaks early can prevent extensive damage and costly repairs. Inspecting for signs of damage early is crucial, especially if the leak is caused by wear and tear or environmental factors.
- Choose the right repair — use pool putty, silicone, or patches for minor cracks, or call a professional for major plumbing or structural issues.
- Perform the repair — follow instructions carefully to ensure a durable fix.
- Monitor the pool — refill to normal level, watch for further leaks, and check equipment connections to confirm the problem’s resolved.
Act swiftly to protect your investment and enjoy a leak-free pool season.
Frequently Asked Questions
Can I Perform the Bucket Test With an In-Ground or Above-Ground Pool?
You can perform the bucket test with both in-ground and above-ground pools. For in-ground pools, place a filled bucket on a step and mark the water levels. For above-ground pools, verify the bucket is stable and immersed correctly. Turn off auto-fill systems and avoid rain or splashing during the test. Keep the water levels consistent, and compare after 24 hours to check for leaks.
How Often Should I Repeat the Bucket Test for Accurate Results?
Think of your pool as a delicate heartbeat, needing regular checkups to stay healthy. You should repeat the bucket test monthly or semi-annually for ongoing monitoring. If weather disruptions happen, like rain or temperature swings, re-test to guarantee accuracy. Conduct the test at consistent times, avoid environmental interference, and record each result precisely. Regular checks help catch leaks early, keeping your pool’s heartbeat strong and your mind at ease.
What if It Rains During the Test Period? Should I Restart?
If it rains during your bucket test, stop it immediately because the added water distorts the results. Wait for the rain to stop and the water levels to stabilize before restarting. Make sure the weather is clear for at least 24-48 hours afterwards. Keep an eye on weather forecasts, and only resume testing when conditions are dry and consistent to ensure accurate leak detection.
Is It Necessary to Turn off My Pool Auto-Fill System?
Yes, you need to turn off your pool auto-fill system before testing for leaks. Auto-fill systems add water automatically, which can conceal water loss, making it impossible to accurately detect leaks. Turning it off ensures that any water level change is due to evaporation or a leak, not the auto-fill. Locate and shut off the auto-fill valve beforehand for precise results and to prevent water waste or damage during your test.
How Long Should I Wait Before Considering a Leak After the Test?
You should wait at least 24 to 48 hours before considering a leak after the test. This period guarantees accurate results by accounting for evaporation and environmental factors. If water loss exceeds what you’d expect from evaporation alone, it indicates a potential leak. Keep the pool undisturbed and measure levels precisely during this time. For borderline results, repeat the test or seek professional help to confirm.
Conclusion
Now that you’ve completed the bucket test, picture the gentle ripple of water settling back into place, revealing whether your pool’s secrets lie beneath the surface. With each careful mark and observation, you’re peeling back the mystery of leaks, turning frustration into clarity. Trust your careful eye, and remember—this simple test is your first step toward smooth, worry-free swimming days ahead, where every splash feels like a fresh start rather than a leak waiting to be found.