To open your pool in spring, start by removing and cleaning the winter cover, then inspect and maintain your equipment, including pumps, filters, and ladders. Activate and test the circulation and electrical systems for leaks or issues. Balance the water chemistry, checking pH, alkalinity, and calcium hardness, and make certain clarity. Finally, verify safety features and lighting. If you want a detailed step-by-step guide to get your pool ready for splash season, keep exploring.
Key Takeaways
- Remove and clean the winter cover, inspect for damage, and clear debris from the pool area.
- Check and service pool equipment, including pumps, filters, heaters, and ladders.
- Test and activate the circulation and electrical systems, ensuring proper water flow and safety features.
- Balance water chemistry by adjusting pH, alkalinity, calcium hardness, and removing organics.
- Conduct a final inspection of the pool shell, safety features, lighting, and ensure all systems and signage are in place.
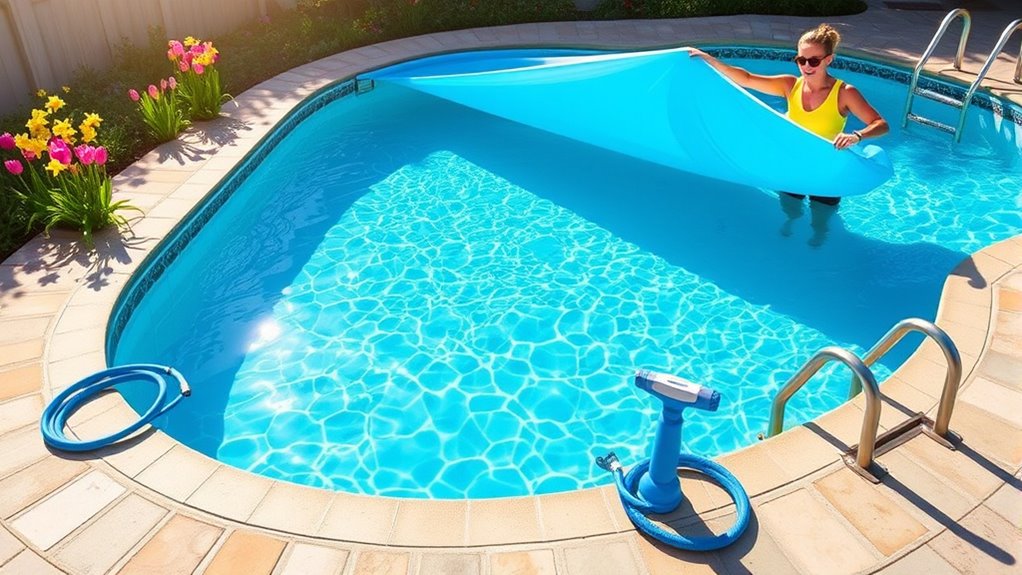
Prepare and Remove Winter Cover
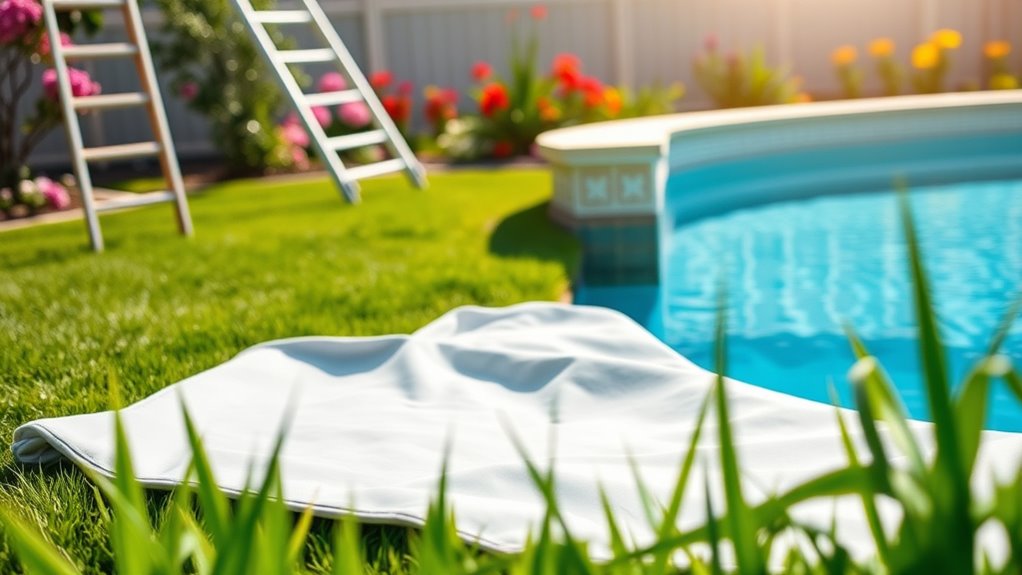
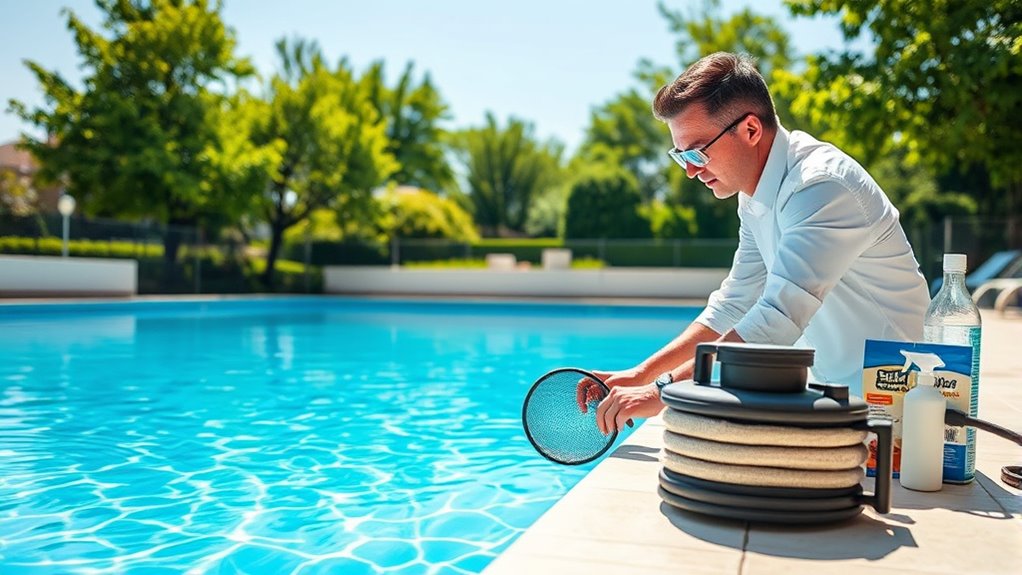
Before removing your winter cover, it’s essential to clear away any water and debris on its surface. Use a pool cover pump or cover siphon to remove pooled water, preventing excess from spilling into the pool. A soft bristle pool brush or leaf blower helps clear leaves and dirt without pushing contaminants into the water. Skim any debris that falls into the pool immediately with a leaf skimmer net to minimize contamination. Removing water and debris before taking off the cover makes handling easier and protects your pool water quality. Properly preparing the cover by cleaning it also helps prevent tearing or damage during removal. Cover pumps work faster, but siphons are also effective. Clearing the surface thoroughly reduces mess and ensures a safer, cleaner opening process. Proper preparation saves time and helps keep your pool in great shape for the season ahead. Additionally, ensuring the cover is clean can help prevent the introduction of contaminants into your pool water, which is important for maintaining water quality.
Inspect and Maintain Pool Equipment

Once you’ve cleared away debris and water from the winter cover, it’s time to evaluate your pool equipment to make sure it’s ready for the season. Begin by inspecting your pumps for cracks, wear, or freeze damage that could impair function. Check filters for clogs, pressure irregularities, or signs of corrosion. Examine heaters for leaks, corrosion, and proper pilot light operation, and test the thermostat. Inspect valves and timers for mechanical faults or electrical issues. Confirm all drain plugs and skimmer baskets are intact and properly sealed. Additionally, verify piping connections are leak-free, lines are unobstructed, and fittings are secure. Test air release valves and pressure gauges for leaks or inaccuracies. Tighten drain plugs and inspect electrical connections, ensuring everything is clean, functional, and ready for safe operation. Proper equipment inspection is essential to prevent costly repairs and ensure safe pool operation throughout the season. Moreover, paying attention to system connectivity can help identify any potential issues early on.
Activate and Test Circulation System

Start by priming your pump with water to make sure it’s ready to circulate and check for proper operation. Turn on the system and watch for water flow, making sure there are no leaks or unusual noises. Keep an eye on the pressure gauge to confirm everything is functioning smoothly before proceeding. Additionally, monitoring the system’s pressure levels can help identify potential issues early and ensure optimal performance.
Pump Priming Techniques
Activating your pool’s circulation system begins with priming the pump to guarantee water flows smoothly through the lines. First, turn off the pump and remove the pump basket lid, clearing debris. Add at least 2 gallons of water to the basket to fill the volute and suction lines. Secure the lid tightly to prevent air leaks. Turn the pump back on and watch for steady water flow, allowing up to five minutes to clear air. Adjust skimmer valves gradually, listening for air bubbles. Use air relief valves if available. If water doesn’t flow after five minutes, shut off the pump, add more water, and retry. Proper priming assures efficient operation and prevents damage. Regular maintenance and proper priming can also help in controlling dandruff and maintaining overall scalp health.
System Leak Monitoring
Before turning on your pool’s circulation system, it’s important to perform thorough pre-activation checks. Make sure all valves are open, and clear any debris from the pump and skimmers. Once everything looks good, run the pump to circulate water and check for leaks under pressure. Use pressure gauges to monitor system pressure—drops may indicate leaks. Conduct visual inspections around equipment and pipes for signs of water escaping. To test for leaks, perform a bucket test by filling a bucket with water, marking the level, and comparing it to the pool water after 24 hours. For more precise detection, apply dye to suspect areas or use listening devices and pressure tests. Performing these checks helps identify leak sources early, preventing water waste and potential damage. Using pressure gauges can provide real-time data that is crucial for accurate leak detection. Early leak detection saves water and prevents costly damage.
Balance Water Chemistry
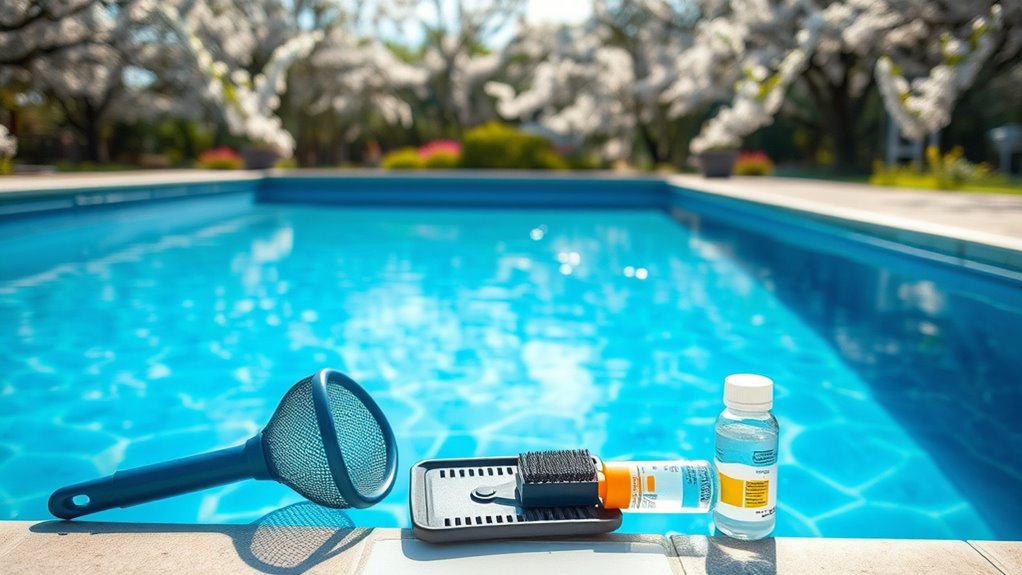
Balancing water chemistry is essential to guarantee your pool remains safe, clean, and inviting throughout the season. First, test your total alkalinity (TA), aiming for 80-120 ppm for gunite pools or 125-170 ppm for vinyl pools. Adjust TA with sodium bicarbonate to prevent pH fluctuations or scaling. Next, check the pH level, keeping it between 7.2 and 7.8 for swimmer comfort and equipment safety. Use muriatic acid to lower pH or soda ash to raise it, testing after each adjustment. Then, measure calcium hardness, maintaining 200-400 ppm to avoid damage to surfaces and equipment; add calcium chloride if needed. Proper testing techniques and quality testing kits ensure accurate results. Finally, remove phosphates and organics with specialized removers, and use clarifiers to ensure water clarity. Regular testing and adjustments keep your pool chemistry balanced and water sparkling.
Clean and Maintain Pool Surfaces
Start by removing your winter pool cover carefully to prevent debris from falling into the water. Clear any standing water, leaves, or dirt from the cover before storing it. Inspect the cover for rips, tears, or damage that might need repair or replacement. Clean the cover with mild soap and water, then let it dry before folding and storing in a cool, dry space to prevent mold. Discard damaged covers—don’t reuse compromised ones. Next, skim the pool surface with a net to remove leaves, twigs, and insects, clearing skimmer and pump baskets of debris. Brush the walls, steps, and floor to loosen algae and dirt. Use a pool vacuum for sediment that can’t be brushed away. Remove large debris manually, and keep an eye out for new debris during the process. Incorporating proper pool surface maintenance techniques ensures a cleaner, healthier swimming environment for the season.
Reinstall Accessories and Safety Features

Now’s the time to reattach your pool’s ladders and handrails securely to guarantee safety and stability. Don’t forget to verify that safety signage is visible and up to date to keep everyone informed. Proper installation of these accessories enhances safety features and helps prevent accidents and ensures compliance with safety standards. Finally, test your lighting systems to make sure they’re working properly for safe nighttime swimming.
Reattach Ladders and Rails
Wondering how to properly reattach your pool ladder and rails? First, measure the distance between the mounting cups and from the cups to the pool edge to ensure a proper fit. Loosen the wedge bolts and carefully remove the ladder for cleaning and inspection. Check the ladder cups for damage or debris, replacing worn bolts or parts as needed. When reinstalling, align the ladder rails with the deck mounts, gently lowering them into place so the wedges seat firmly. Tighten the bolts securely, ensuring the ladder is stable and cannot be dislodged easily. To visualize, consider this table:
| Step | Action | Result |
|---|---|---|
| Measure distances | Confirm proper fit before reattachment | Secure, safe installation |
| Loosen wedge bolts | Detach ladder for cleaning | Prevent damage |
| Align rails and cups | Lower carefully into position | Proper seating |
| Tighten bolts | Secure ladder firmly | Stability and safety |
Verify Safety Signage
Before reopening your pool for the season, making certain that all safety signage and accessories are properly installed and functioning is essential. Start by inspecting your pool fence to confirm it’s sturdy and secure, with gates that self-close and self-latch. Test pool alarms to verify they work correctly, and check that warning signs are clearly visible and undamaged. Make sure emergency equipment like first aid kits are easily accessible. Reinstall accessories such as diving boards, pool steps, and water slides securely, inspecting for damage or wear. Verify that pool lights are installed properly and functioning. Additionally, proper safety measures help prevent accidents and ensure peace of mind for all swimmers. Finally, inspect the safety cover for tears, confirm it’s tightly secured, and store it properly when not in use.
Test Lighting Systems
To guarantee your pool remains safe and functional, you need to thoroughly test your lighting system after reinstalling accessories and safety features. First, verify all lights turn on properly and check that safety mechanisms like circuit breakers trip when needed. Inspect electrical wiring for signs of wear or damage, ensuring no exposed wires or corrosion. Confirm fixtures are sealed correctly to prevent water from entering, which could cause shorts. Make sure your lighting system complies with local safety codes, avoiding any violations.
- Check that all lights illuminate without flickering
- Test safety features like circuit breakers and GFCIs
- Look for damaged or worn electrical cables
- Ensure fixtures are waterproof and properly sealed
- Confirm adherence to local safety standards
Check Lighting and Prepare Pool Area
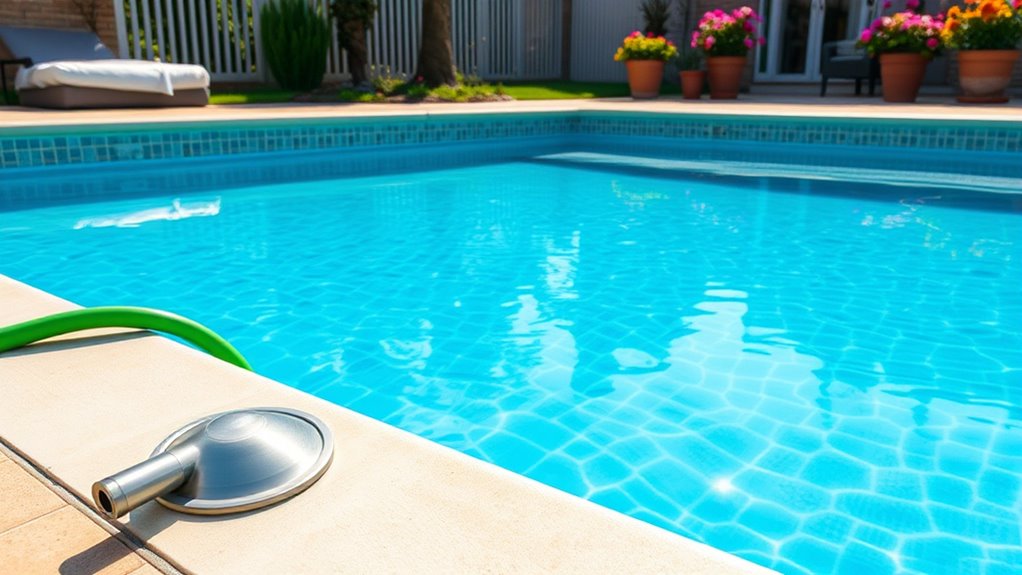
As you prepare to open your pool in spring, inspecting and testing the lighting system is a crucial first step. Begin by checking underwater lights for water intrusion or condensation inside fixtures, as moisture can cause failures after winter. Inspect light lenses and front rings for cracks or damage, replacing any compromised parts to prevent heat buildup and wiring issues. Guarantee all lights are properly sealed and dry before turning them on; if lenses were removed during winter, reassemble carefully following manufacturer instructions. Test each fixture’s operation by switching the lights on, and replace bulbs that appear dim or flicker. If you find water inside fixtures or electrical faults, engage a professional for repairs. Properly inspecting and maintaining pool lighting helps prevent potential safety hazards and costly repairs later in the season. Additionally, checking electrical connections ensures all wiring remains secure and functional after winter storage. Clearing the pool area of debris and ensuring safety barriers are intact completes this essential step.
Final Inspection and Readiness for Use
A thorough final inspection of your pool’s structure and surface guarantees it’s safe and ready for use. Check the shell for cracks, discoloration, pitting, or open joints that could indicate leaks or deterioration. Inspect the coping for loose or damaged sections that might pose trip hazards. Examine main drains and skimmers to ensure covers are secure and free of clogs or damage. Confirm tiles, liners, and surfaces are intact, without stains, mold, or damage. Finally, assess the deck for cracks, chips, and hazards, ensuring non-slip surfaces meet safety standards. This step guarantees your pool is structurally sound and safe for swimming. Regular cybersecurity vulnerabilities in pool equipment and systems can compromise safety, so staying vigilant is essential. – Inspect for cracks, leaks, and surface damage – Check coping and safety features – Verify skimmers and drains are functional – Ensure deck and surroundings are hazard-free – Confirm safety signage and equipment are in place
Frequently Asked Questions
When Is the Best Time to Open My Pool in Spring?
You should open your pool when daily highs are consistently above 65°F to 70°F, typically in late April or early May depending on your region. Avoid opening too early if temperatures are below 50°F, as it can strain equipment and promote algae growth. Wait until the weather stabilizes, debris is manageable, and your pool cover is in good condition to guarantee a smooth, algae-free start to your swim season.
How Do I Identify if Equipment Has Freeze Damage?
Think of your pool equipment as a delicate glass sculpture—fragile and vulnerable after a cold snap. Look for visible cracks, spider web patterns, or leaks beneath pumps and around fittings. Listen for unusual noises during startup, and watch for water spurting or loss of pressure. Check for frost or discoloration. If anything seems off, don’t hesitate to call professionals—they can spot cracks hidden beneath the surface.
What Are Signs of Algae Growth After Winter?
After winter, you’ll notice signs of algae growth like cloudy, milky water or green, yellow, or black spots on the pool surface. Slippery surfaces and foamy water are common indicators, along with unpleasant odors. You may also see color changes or algae buildup on walls. These signs mean it’s time to treat your pool with appropriate algaecides, shock, and proper cleaning to restore clarity and safety.
How Often Should I Test Water Chemistry During Initial Opening?
Testing your pool water during initial opening is like checking your garden’s soil—frequent attention keeps it healthy. You should test 2 to 3 times a week, especially after heavy use, storms, or chemical adjustments. Focus on chlorine and pH daily during peak season, and check alkalinity weekly. Once the water stabilizes, you can reduce testing to once a week, ensuring your pool stays balanced and safe for swimmers.
What Safety Precautions Should I Take During Pool Opening?
During pool opening, you should prioritize safety by inspecting all equipment for damage, ensuring electrical systems are safe, and checking for leaks. Remove covers carefully and examine the pool structure and fencing for damage. Test safety alarms, rescue equipment, and lighting to confirm they’re working properly. Also, verify safety signage is in place. Taking these precautions helps prevent accidents and guarantees a safe, smooth start to your swimming season.
Conclusion
Think of opening your pool as awakening a dormant garden. With each step, you’re planting the seeds for a season of enjoyment and relaxation. When you finish, your backyard oasis is ready to bloom with invigorating swims and sunny days. Just like tending to a garden, your careful preparation ensures vibrant, crystal-clear waters and safe surroundings. Now, step back and enjoy the beauty you’ve nurtured—your perfect summer retreat is just a splash away.